How PMs Can Generate UI Prototypes Without Designing
Updated March 13, 2026
As a product manager, your role is to define requirements, validate concepts, and manage the flow from idea to launch. Translating those requirements into visual screens often depends on a designer. If a designer is unavailable, you may be blocked from visualizing the feature.
AI tools like Moonchild allow you to generate interactive UI prototypes directly from written requirements. You define the user experience, and the system produces a visual representation that your team can review, test, and iterate on.
Write your requirements the way you already do
Your existing product requirements are usually sufficient input. For example:
Users can filter products by category, price range, and rating. They see filtered results in a grid and can sort by relevance, price, or rating.
Requirements should describe the user's path through the product with clear steps. For example:
Users land on the homepage, search for a product, see results, filter by category, and click on a product to view details.
Avoid vague phrases like "Search functionality" and skip technical or backend details. Moonchild interprets user behavior, not implementation specifics.
Step 1: Prepare your requirements
Extract the section of your requirements document that describes the feature's user flow. Focus on the sequence of screens and interactions, from entry point to task completion.
Be explicit about the states and transitions the user may encounter. For example:
Users filter results. If the input is invalid, display an inline error message. If valid, show a loading spinner while processing, then display the results.
Avoid including backend logic or technical implementation details, as they do not influence the generated UI.
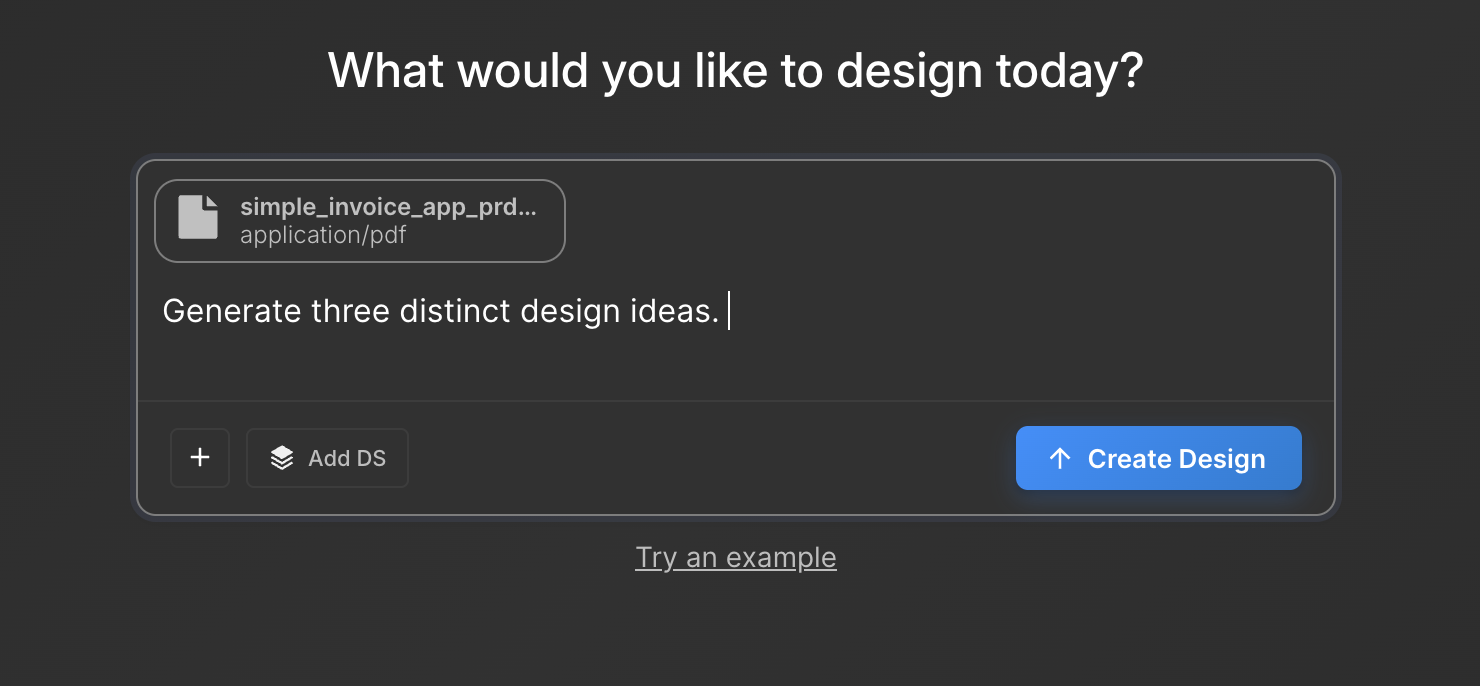
Step 2: Generate in Moonchild
Paste your prepared requirements into Moonchild and generate the prototype.
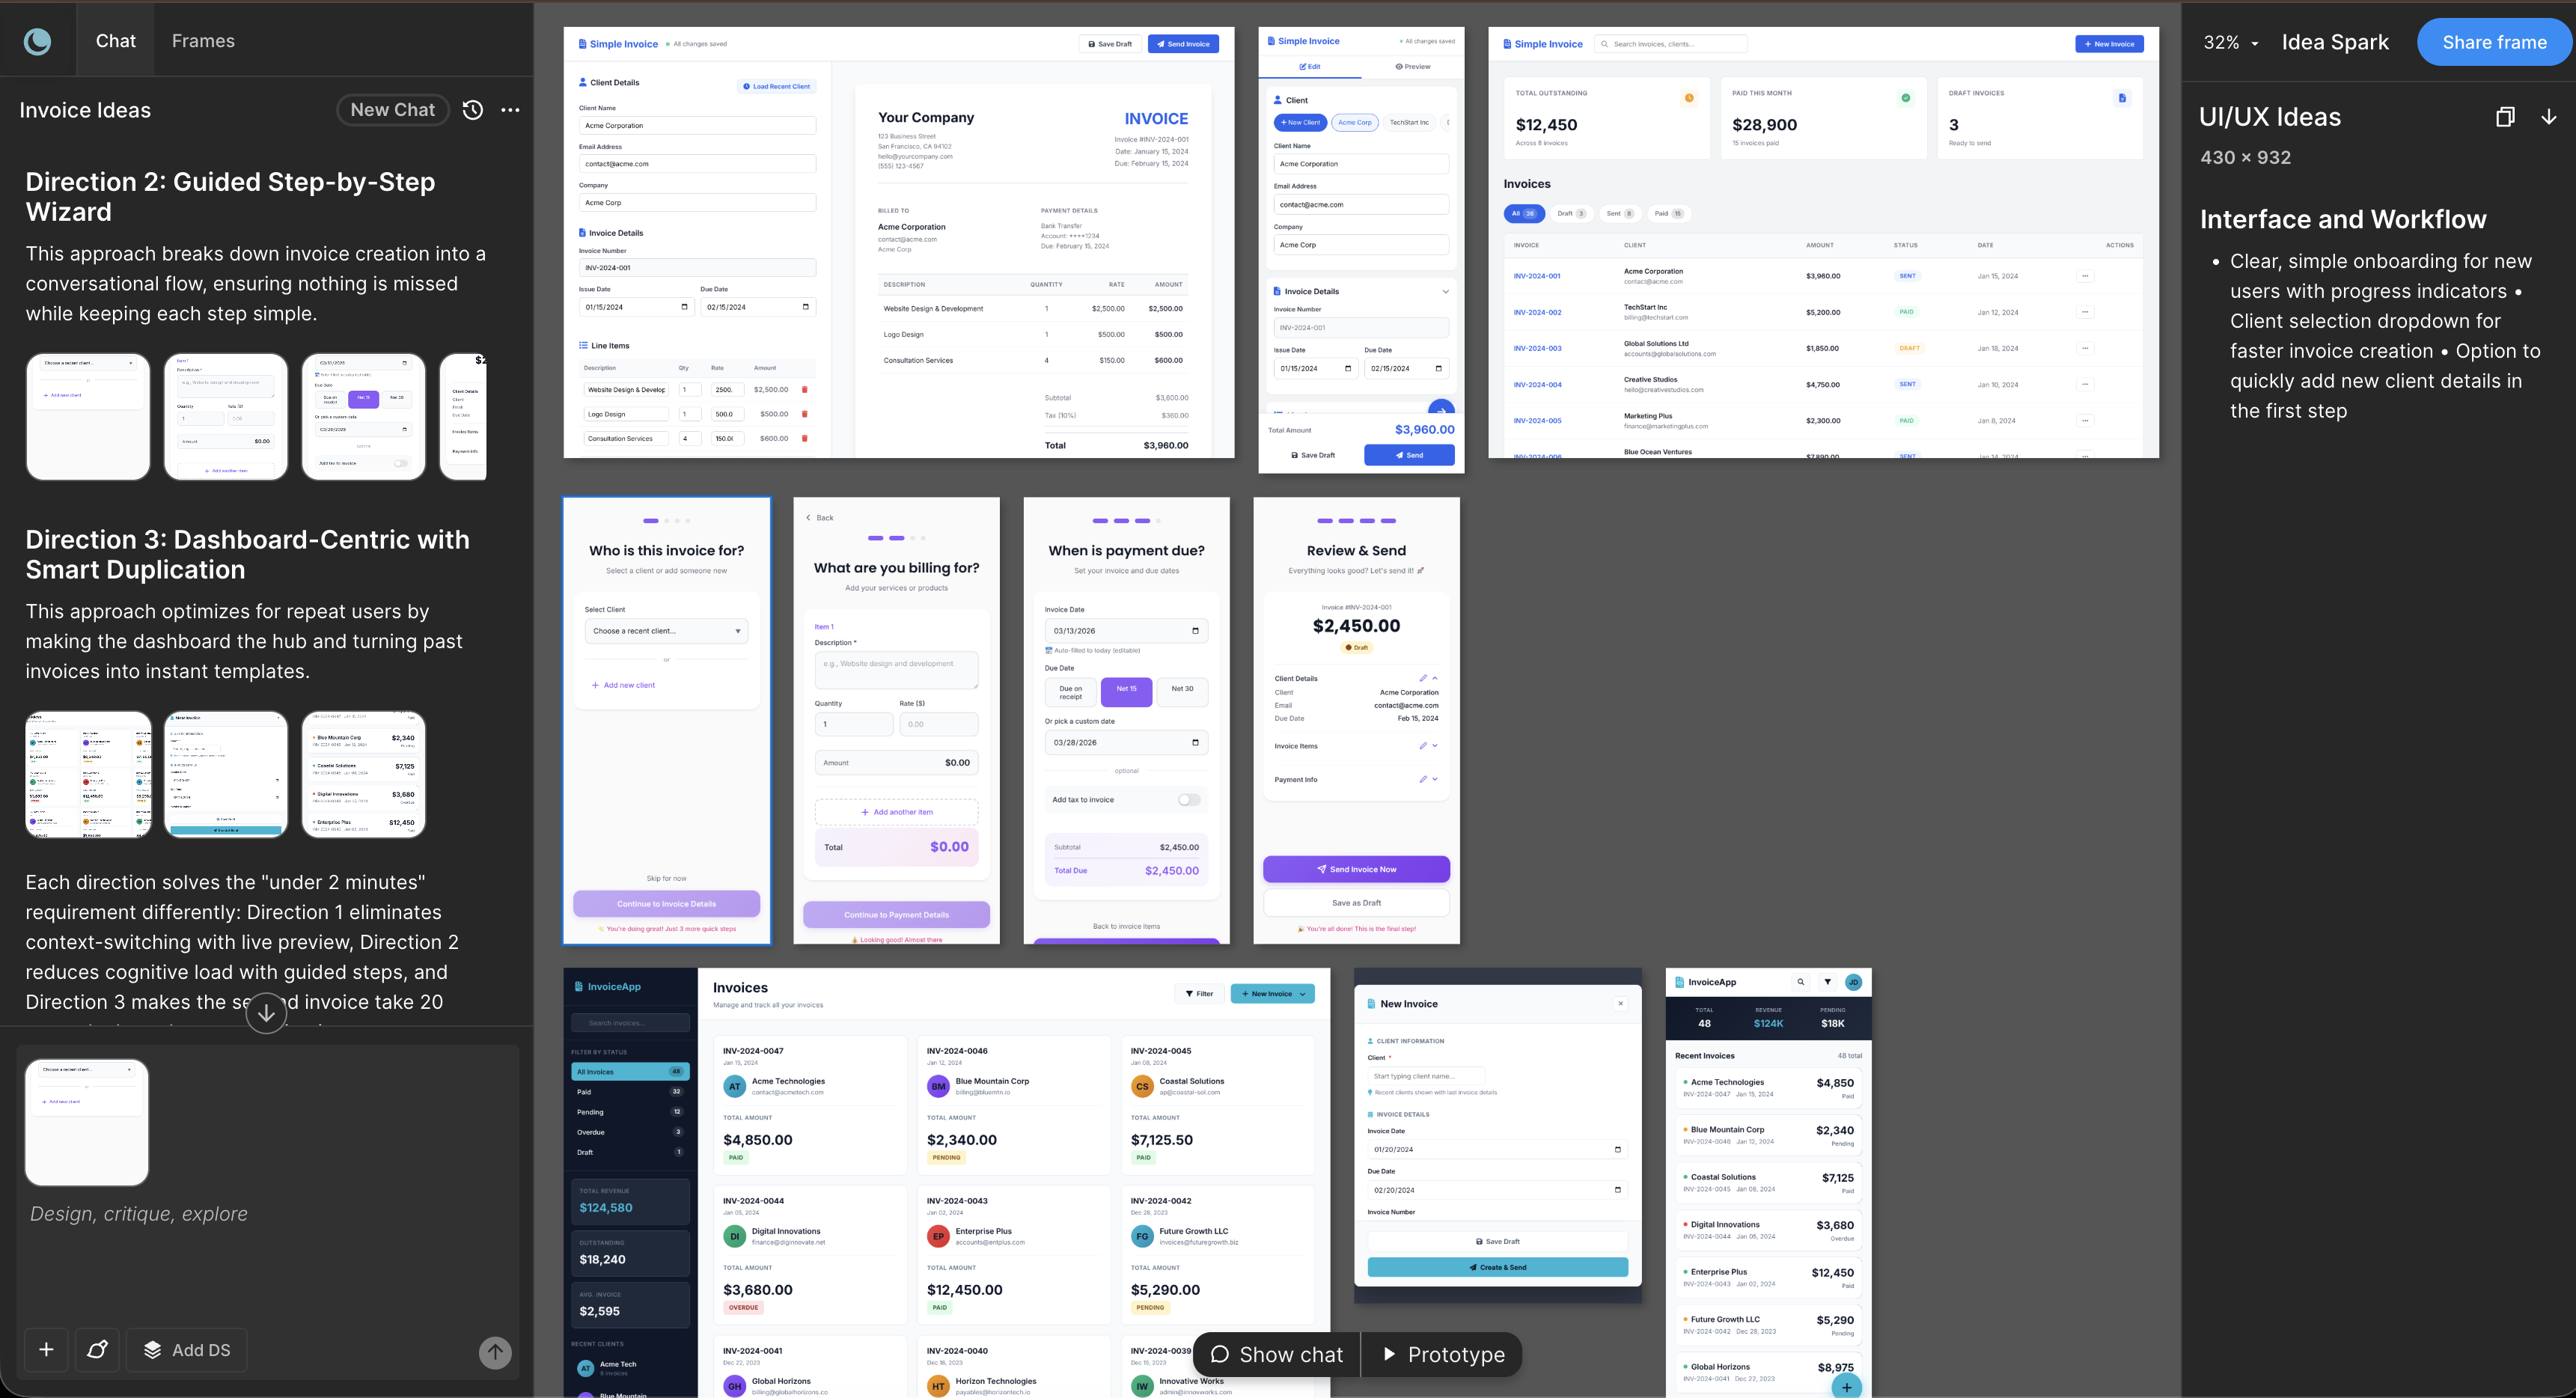
If your design system is imported, the generated screens can use your existing components, colors, typography, and layout patterns. Without a design system, the system produces clean, professional layouts suitable for review.
Step 3: Validate your thinking
The generated prototype provides a visual representation of your requirements.
- Click through the screens
- Confirm that the flow reflects the intended user experience
- Identify missing screens, unclear transitions, or ambiguous interactions
This step allows you to validate that the written requirements translate into a working interface. Adjust the requirements and regenerate the prototype if needed.
Step 4: Share and gather feedback
Share the prototype with designers, developers, and stakeholders. Everyone can see the same flow, reducing ambiguity. Designers can refine the interface in tools like Figma, and developers can build from a concrete specification instead of abstract descriptions.
This approach enables team alignment and feedback without waiting for designer availability.
Why this approach prevents common PM-designer friction
Traditionally, designers interpret written requirements, which can lead to misalignment and multiple feedback cycles. Providing a visual prototype alongside requirements ensures that the designer understands the intent from the start.
Moonchild converts your requirements into a visual spec automatically, giving designers a clear foundation to refine.
Common pitfalls and how to prevent them
Failure 1: Including technical details
Requirements focused on backend logic, such as API endpoints or database queries, do not affect the generated interface. Focus only on what the user sees and does.
Failure 2: Using an outdated design system
If the design system does not reflect current branding, generated screens may look inconsistent. Audit and update your system before importing, or generate using defaults.
Failure 3: Expecting a final design immediately
Moonchild produces production-ready prototypes that serve as a starting point. Designers are still needed to add brand-specific polish and final UI details.
What you actually deliver
By following this workflow, you generate a prototype that represents your written requirements without performing design work yourself. The prototype:
- Provides a visual validation of your concept
- Serves as a clear specification for your team
- Reduces dependency on designer availability for early concept validation
Your team can review, iterate, and refine the flow before investing in detailed design or development, making the process faster and more aligned.
Try Moonchild
Want this for your team?
Bring your design system into Moonchild and let PMs, designers, and engineers ship on-brand UI together — without breaking consistency.
Written by
Steven SchkolneFounder of Moonchild AI. Building the AI-native platform for product design.
Related Articles
How to Prototype Product Ideas from a Single Prompt
You have a product idea but no time to write a full spec. Here's how to go from a single written prompt to a visual prototype using AI design tools like Moonchild.
How to Turn Feature Specs into Clickable UI Prototypes
A feature spec defines acceptance criteria in text. AI tools like Moonchild can turn that spec into a clickable prototype so your team can validate it visually against each criterion.
How to Turn a PRD into a Clickable Prototype Using AI in 2 Mins
Turn written product requirements into a clickable prototype in minutes using Moonchild AI. This guide walks through the workflow from PRD to interactive screens.