PRD-to-Prototype Workflow with AI: The Complete Guide
Updated January 27, 2026
Why This Workflow Exists (and Why Traditional Workflows Break Down)
For years, the typical product workflow looked like this:
PRD → designer interprets → wireframes → feedback loop → mockups → developer estimates → code.
Every step involved a handoff. Each handoff took 2–5 days, and feedback usually arrived after the design work was finished. By the time a team realized the direction was wrong, several days had already been spent designing the wrong thing.
AI-assisted workflows compress this process. Instead of moving linearly from PRD to final design, teams can now move from PRD → multiple design directions → feedback → prototype in a much shorter cycle.
A process that used to take two or three weeks can often happen within two or three days.
The real benefit isn't just speed. It's risk reduction. Teams can test different directions with users before engineering time is committed, and misalignment between product managers, designers, and engineers surfaces early in the process.
The PRD-to-Prototype Pipeline: Five Stages
The workflow can be understood as five stages:
Stage 1: Requirement Framing
Most PRDs are written primarily for engineers. They describe what needs to be built, but they rarely describe how the experience should work.
A typical PRD might say:
Users can filter posts by topic. Implement a dropdown with categories A, B, and C.
From a design perspective, that description raises deeper questions:
- Is filtering the primary action or a secondary tool?
- Is the interface mobile-first or desktop-first?
- How deep are the categories?
- Should navigation rely on dropdowns, pills, breadcrumbs, or something else?
Good design begins with clarifying these questions.
This stage usually involves the product manager and designer reviewing the PRD together, revisiting research, and identifying the core assumption behind the feature.
Moonchild's role: Moonchild can ingest messy input: notes, screenshots, research snippets, or PRD text, and turn it into something the AI can reason about. The clearer the brief, the better the generated directions.
Common failure: If the brief stays generic, the AI will produce generic designs. Specific briefs produce specific outputs.
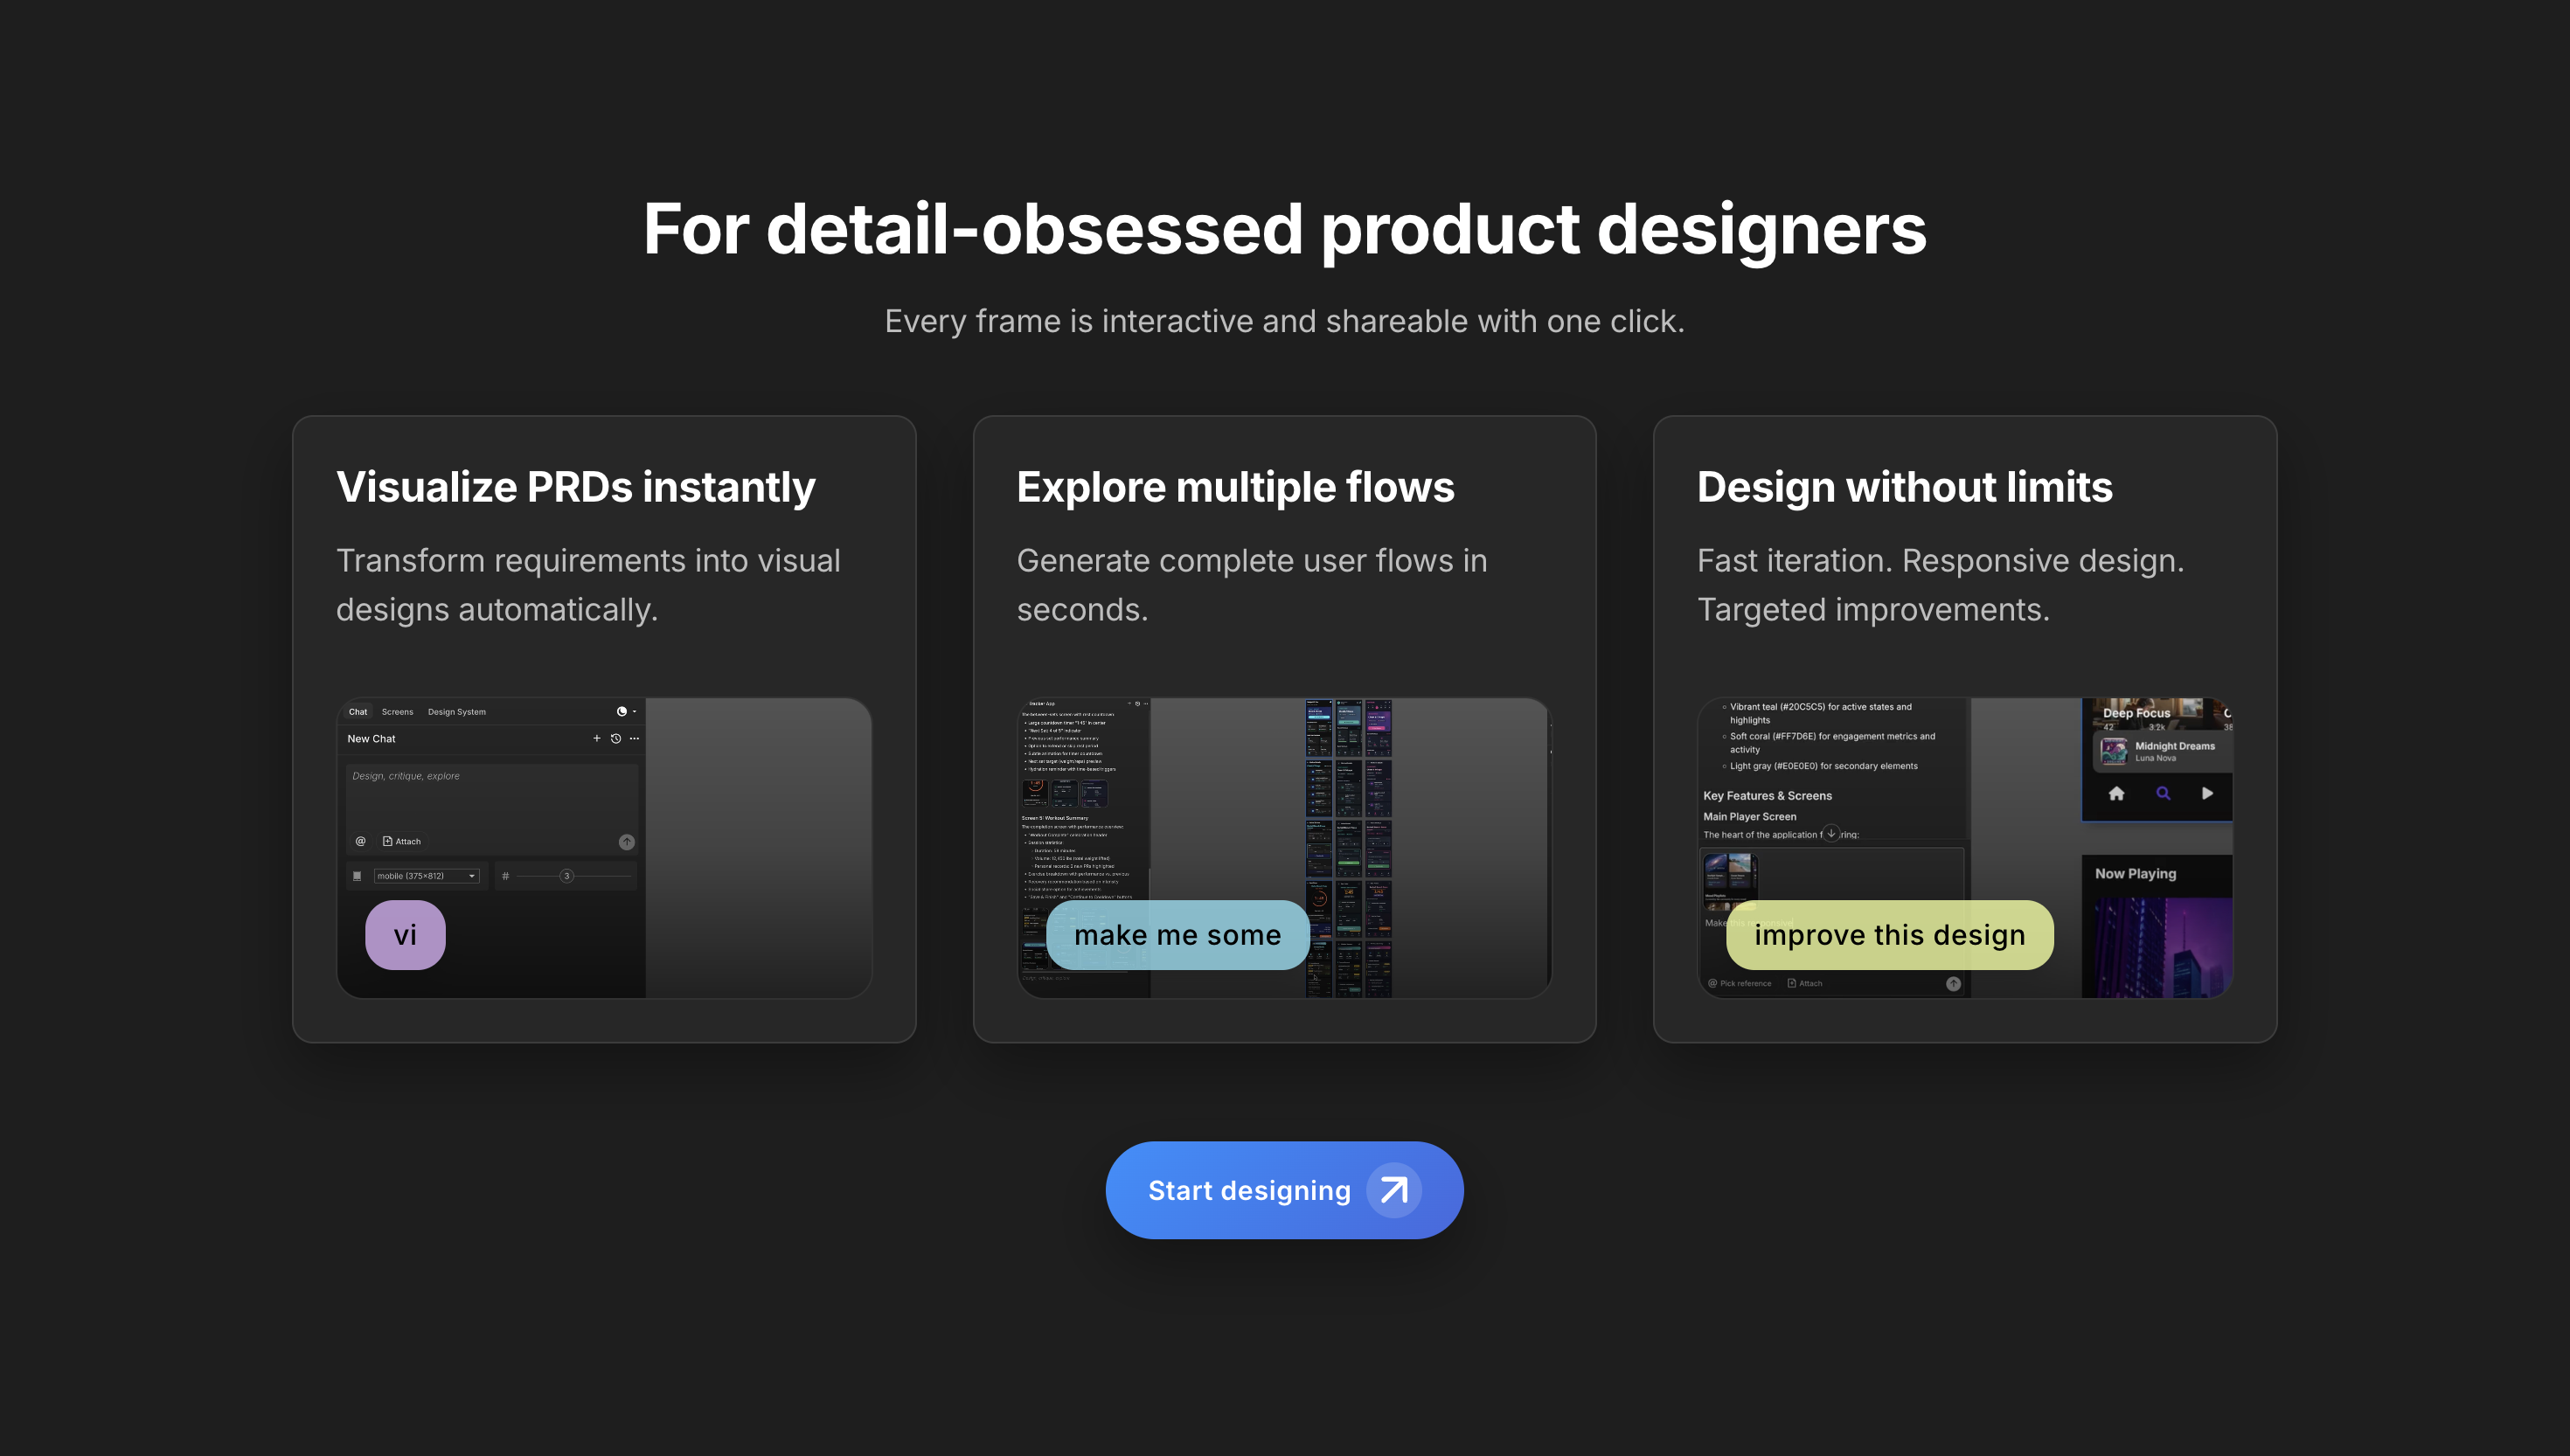
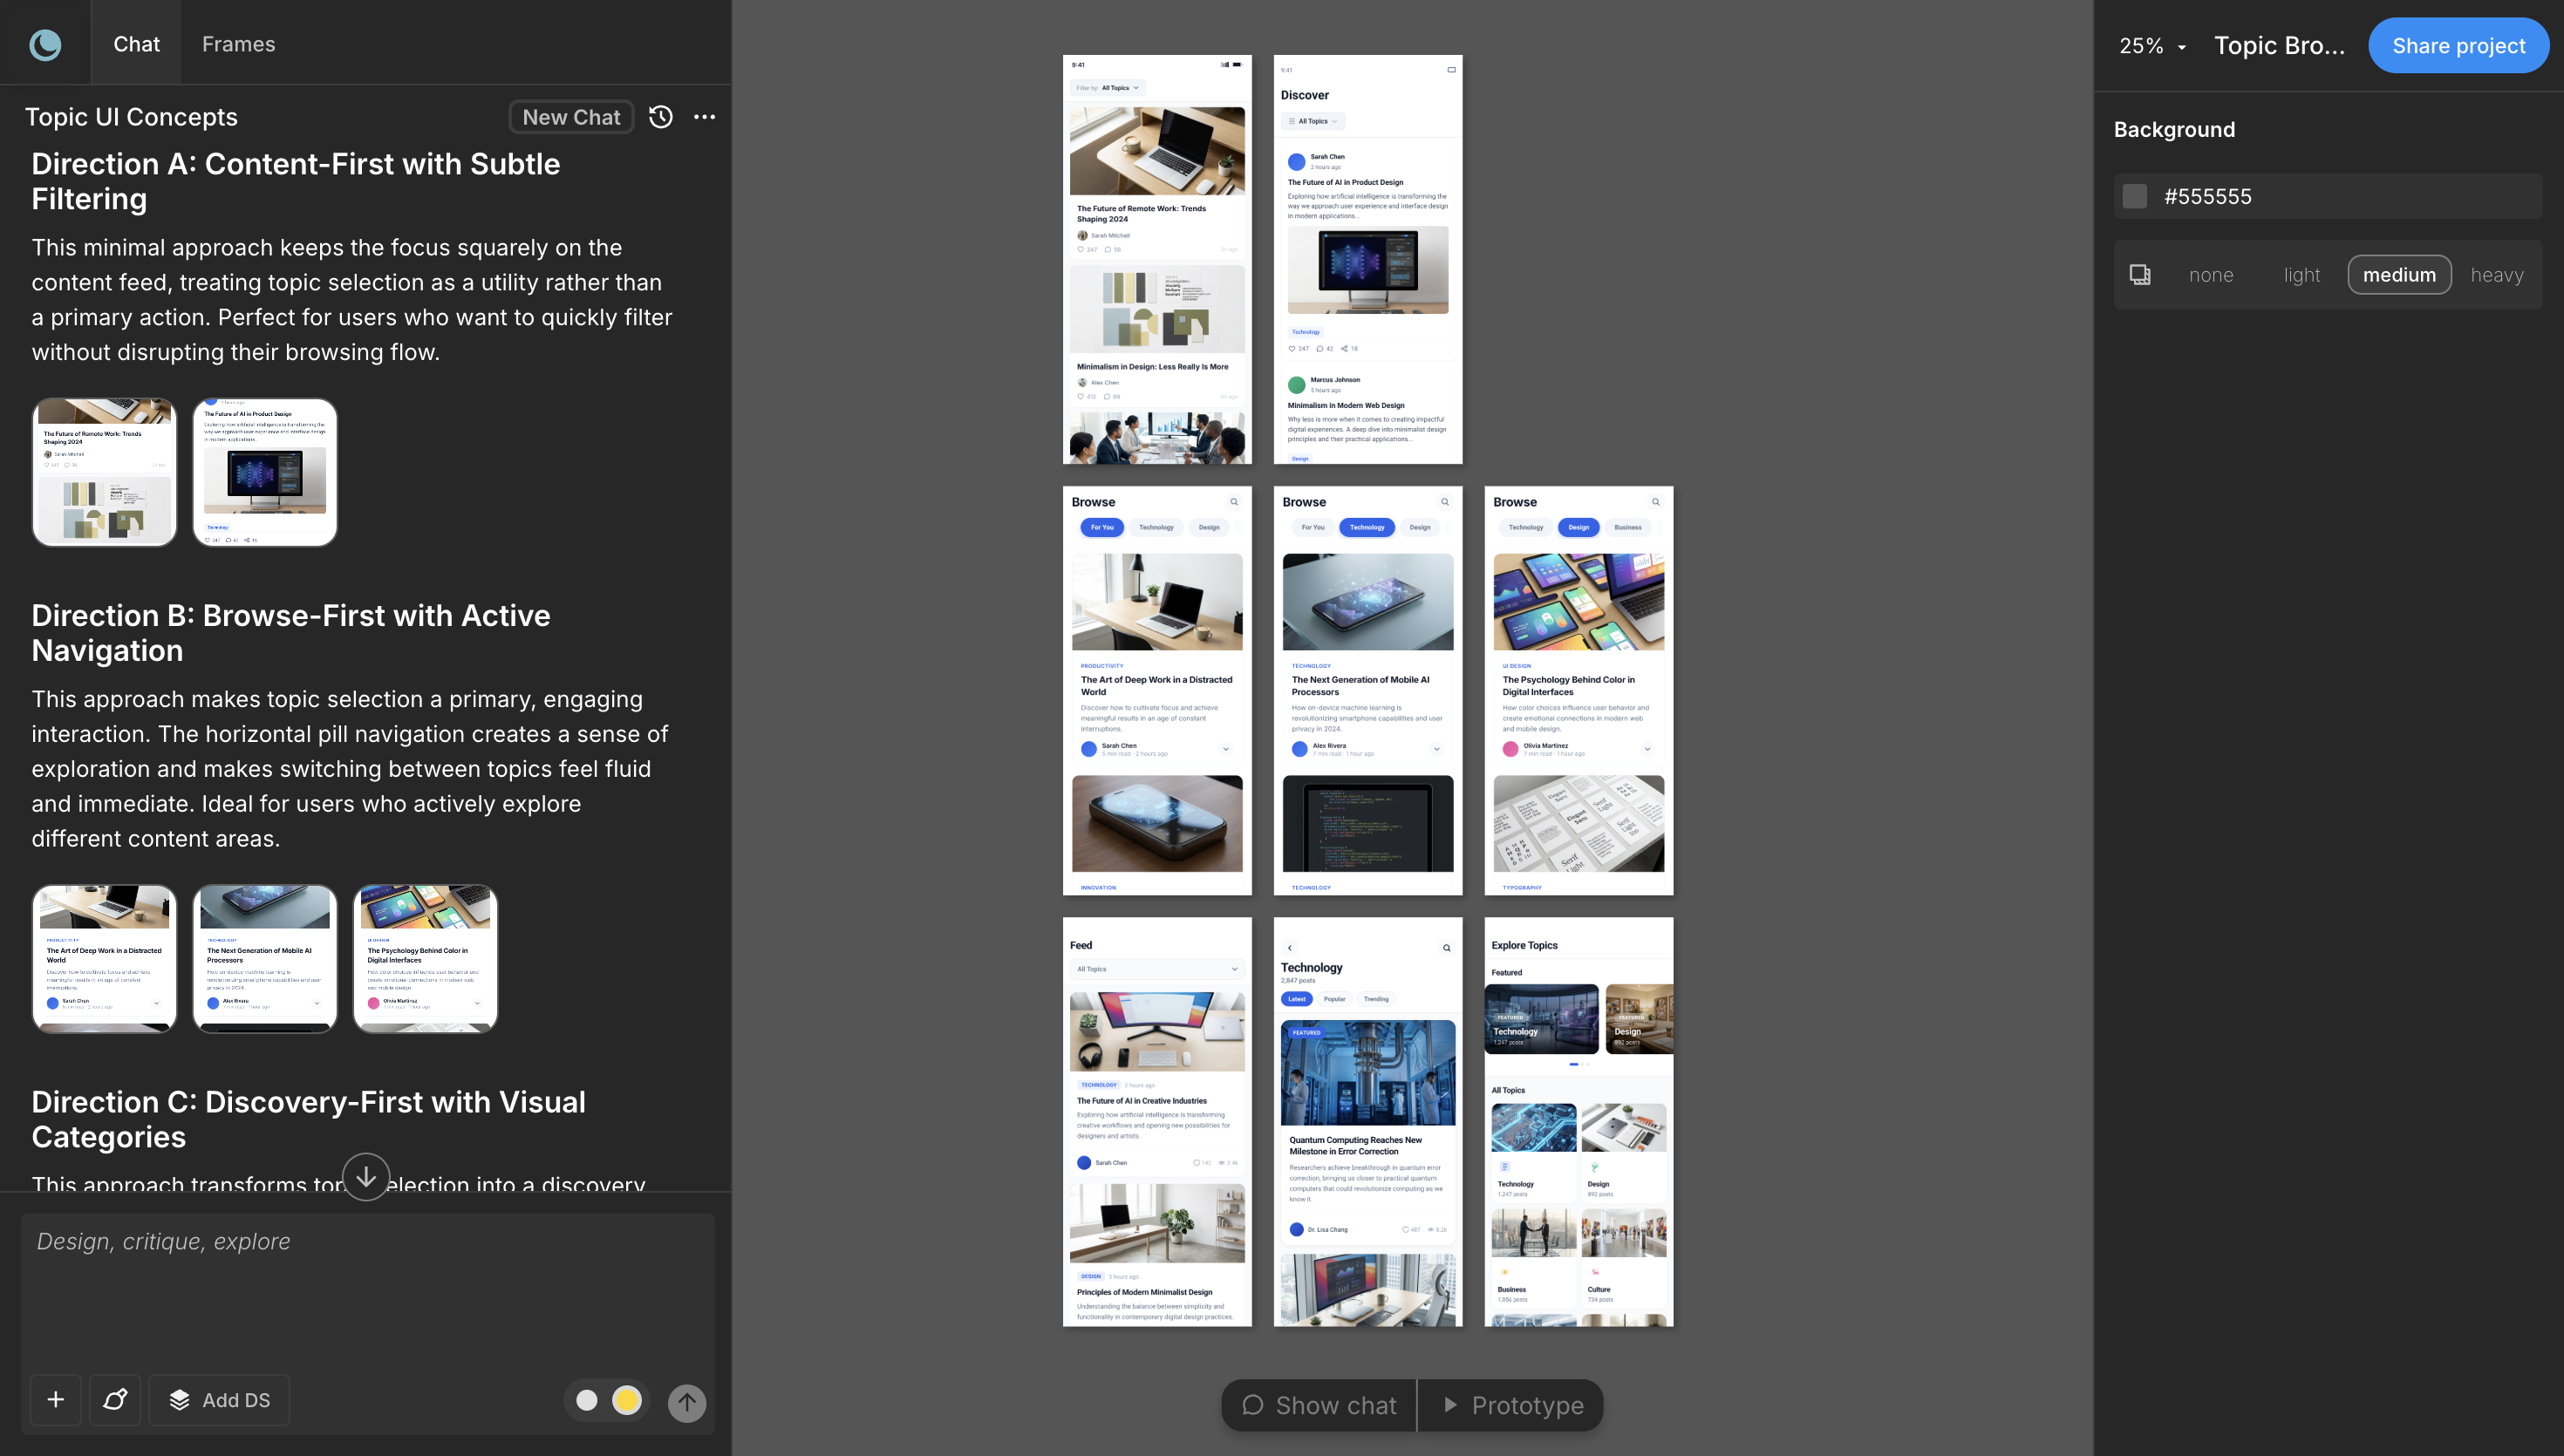
Stage 2: Direction Generation
Once the problem is clear, the next question becomes:
What are the credible ways to solve it?
Instead of committing to a single solution, teams can generate several design directions that represent different assumptions about user behavior.
Example:
- Direction A: Strong visual hierarchy, with category filters as secondary controls.
- Direction B: Browsing-first interface with scrollable topic previews.
- Direction C: Personalized recommendations based on user behavior.
Each direction reflects a different hypothesis about user intent.
Traditionally, designers created one direction first. Stakeholders then suggested alternatives—often inspired by other products, which led to several redesign cycles.
AI changes this step. Multiple directions can be generated in a single pass, allowing teams to compare them immediately.
Now feedback shifts from:
"I like this better."
to
"This direction matches how we believe users behave."
Moonchild's role: Generates multiple directions in one pass. You pick one. The prompt stays the same; the output varies. This is what separates "AI tool" from "design template."
Common failure: Picking the first direction because it looks nice. Pick based on what you learned in Requirement Framing. "This direction matches our assumption about user intent." If it doesn't, iterate the brief, not the direction.
Stage 3: Direction Selection and Testing
Once the directions are generated, the goal is to validate the assumption behind each one. Historically, teams shipped a single direction and waited weeks for data. But now, with faster prototyping, teams can test early.
For example:
- Recruit five users per direction.
- Run a 15-minute unmoderated usability session.
- Observe which interaction model feels most intuitive.
At this stage you're not testing visual polish and validating whether the interaction model matches user expectations.
This type of validation can often be completed within a single day.
Moonchild's role: Exports all three directions to a prototype platform (Lovable, Bolt, Claude Code). You can immediately share interactive links with test participants. Not static mockups. Actual flows.
Stage 4: Flow Construction
After a direction is selected, the next step is building the full product flow. The chosen direction might start as a single screen, but real features require multiple connected states:
- onboarding
- primary actions
- empty states
- errors
- confirmations
Traditionally, designers built each screen manually. Maintaining consistency across many screens could take several days. With AI-assisted workflows, the chosen direction can be extended into a full flow much faster.
The designer's role shifts from building every screen to reviewing and refining the generated flow:
- checking whether states are missing
- ensuring design system tokens are applied correctly
- verifying the interaction logic
Stage 5: Prototype Handoff
Once the flow is complete, it moves into prototype or development preparation. A strong handoff includes:
- a structured Figma file
- clear design tokens
- documented components
- an interactive prototype
Developers should be able to inspect spacing, typography, and colors directly from the design system rather than interpreting screenshots. Some workflows also allow exporting design-aligned code, reducing translation between design and implementation.
The goal of handoff is clarity: developers should understand the interface without needing to guess the design decisions behind it.
What this Workflow Changes
The most important change is not raw speed. It's iteration velocity.
Traditional design pipelines make it expensive to explore multiple ideas. AI-assisted workflows make exploration cheap. Instead of spending weeks refining one direction, teams can test several ideas quickly and commit to the strongest one earlier in the process.
The shift from slow iteration to rapid validation is what makes the PRD-to-prototype workflow powerful.
FAQs
Q: Doesn't this skip user research?
No. You're testing directions with users in day 3 instead of after launch. That's faster feedback, not less research. You need to know your user intent before you start (Requirement Framing), then validate your direction with users. Both happen; the order flips.
Q: What if the AI generates something we can't build?
The handoff is where you'd find this out. Read the code export or show Figma to a developer. If something's not buildable, the brief was too loose or the direction was exploratory. Tighten and regenerate. One prompt is cheap.
Q: Can we skip direction testing?
Yes, if you're very confident. But "confident" usually means you're solving a problem you've solved before. For new problems, test. Takes 4 hours. Saves weeks of rework.
Q: What if stakeholders want different directions selected?
Then you have a requirements disagreement, not a design problem. Go back to Requirement Framing. "Which user behavior are we optimizing for?" That's a PM question, not a design question. Settle it before Stage 2.
Q: How do we handle iterations after the flow is built?
If feedback is "this direction doesn't work," go back to Stage 2 and regenerate. If feedback is "add this edge case," stay in Stage 4 and regenerate that one screen. You're not rebuilding from scratch.
Q: Does the prototype need to be interactive?
For user testing: yes. For developer handoff: no, a Figma file is fine. For stakeholder buy-in: usually yes. Moonchild exports to platforms that make interaction fast.
Try Moonchild
Want this for your team?
Bring your design system into Moonchild and let PMs, designers, and engineers ship on-brand UI together — without breaking consistency.
Written by
Steven SchkolneFounder of Moonchild AI. Building the AI-native platform for product design.
Related Articles
How to Turn Product Prompts into Testable UI Flows
User testing requires screens that feel real enough for users to interact with naturally. Here's how to turn a product prompt into a testable UI flow in minutes with Moonchild AI.
How to Use AI to Rapidly Test Multiple UI Hypotheses
Every interface decision is a hypothesis. Instead of committing to one direction, use AI to generate multiple UI variants, test them fast, and validate the best approach before engineering begins.
Bringing Screens From Figma Into Moonchild
Moonchild isn't just for generating screens from prompts. You can import existing Figma designs and use them as a starting point for AI-powered exploration and variations.