How to Export AI-Generated UI from Moonchild to Figma
Updated January 10, 2026
You've generated screens in Moonchild that your team loves. The layout works. The components are correct. The tokens are applied properly.
Now you need it in Figma, not as a static image, but as a real, editable file where your team can refine, hand off to developers, and maintain overtime. Now, that transition from exploration to production, is where direction becomes delivery.
Editable frames, not screenshots
Most AI tools export as images or PDFs. You get something that looks good at first glance, but once you open Figma, the real work begins; rebuilding layouts, swapping in real components, reapplying tokens, and renaming layers for dev handoff.
A lot of the value from the AI output gets diluted in that process. The tool helped you explore, but you still have to reconstruct everything properly.
Moonchild handles this transition differently. Instead of exporting a static visual, it creates a properly structured screens, editable in Figma. Frames are named clearly, layers have hierarchy and meaning, components remain as instances, and tokens are referenced correctly.
So when you copy as SVG to Figma, you're not rebuilding what the AI generated. You're just refining it.
The export happens in 10 seconds. The handoff happens in minutes.
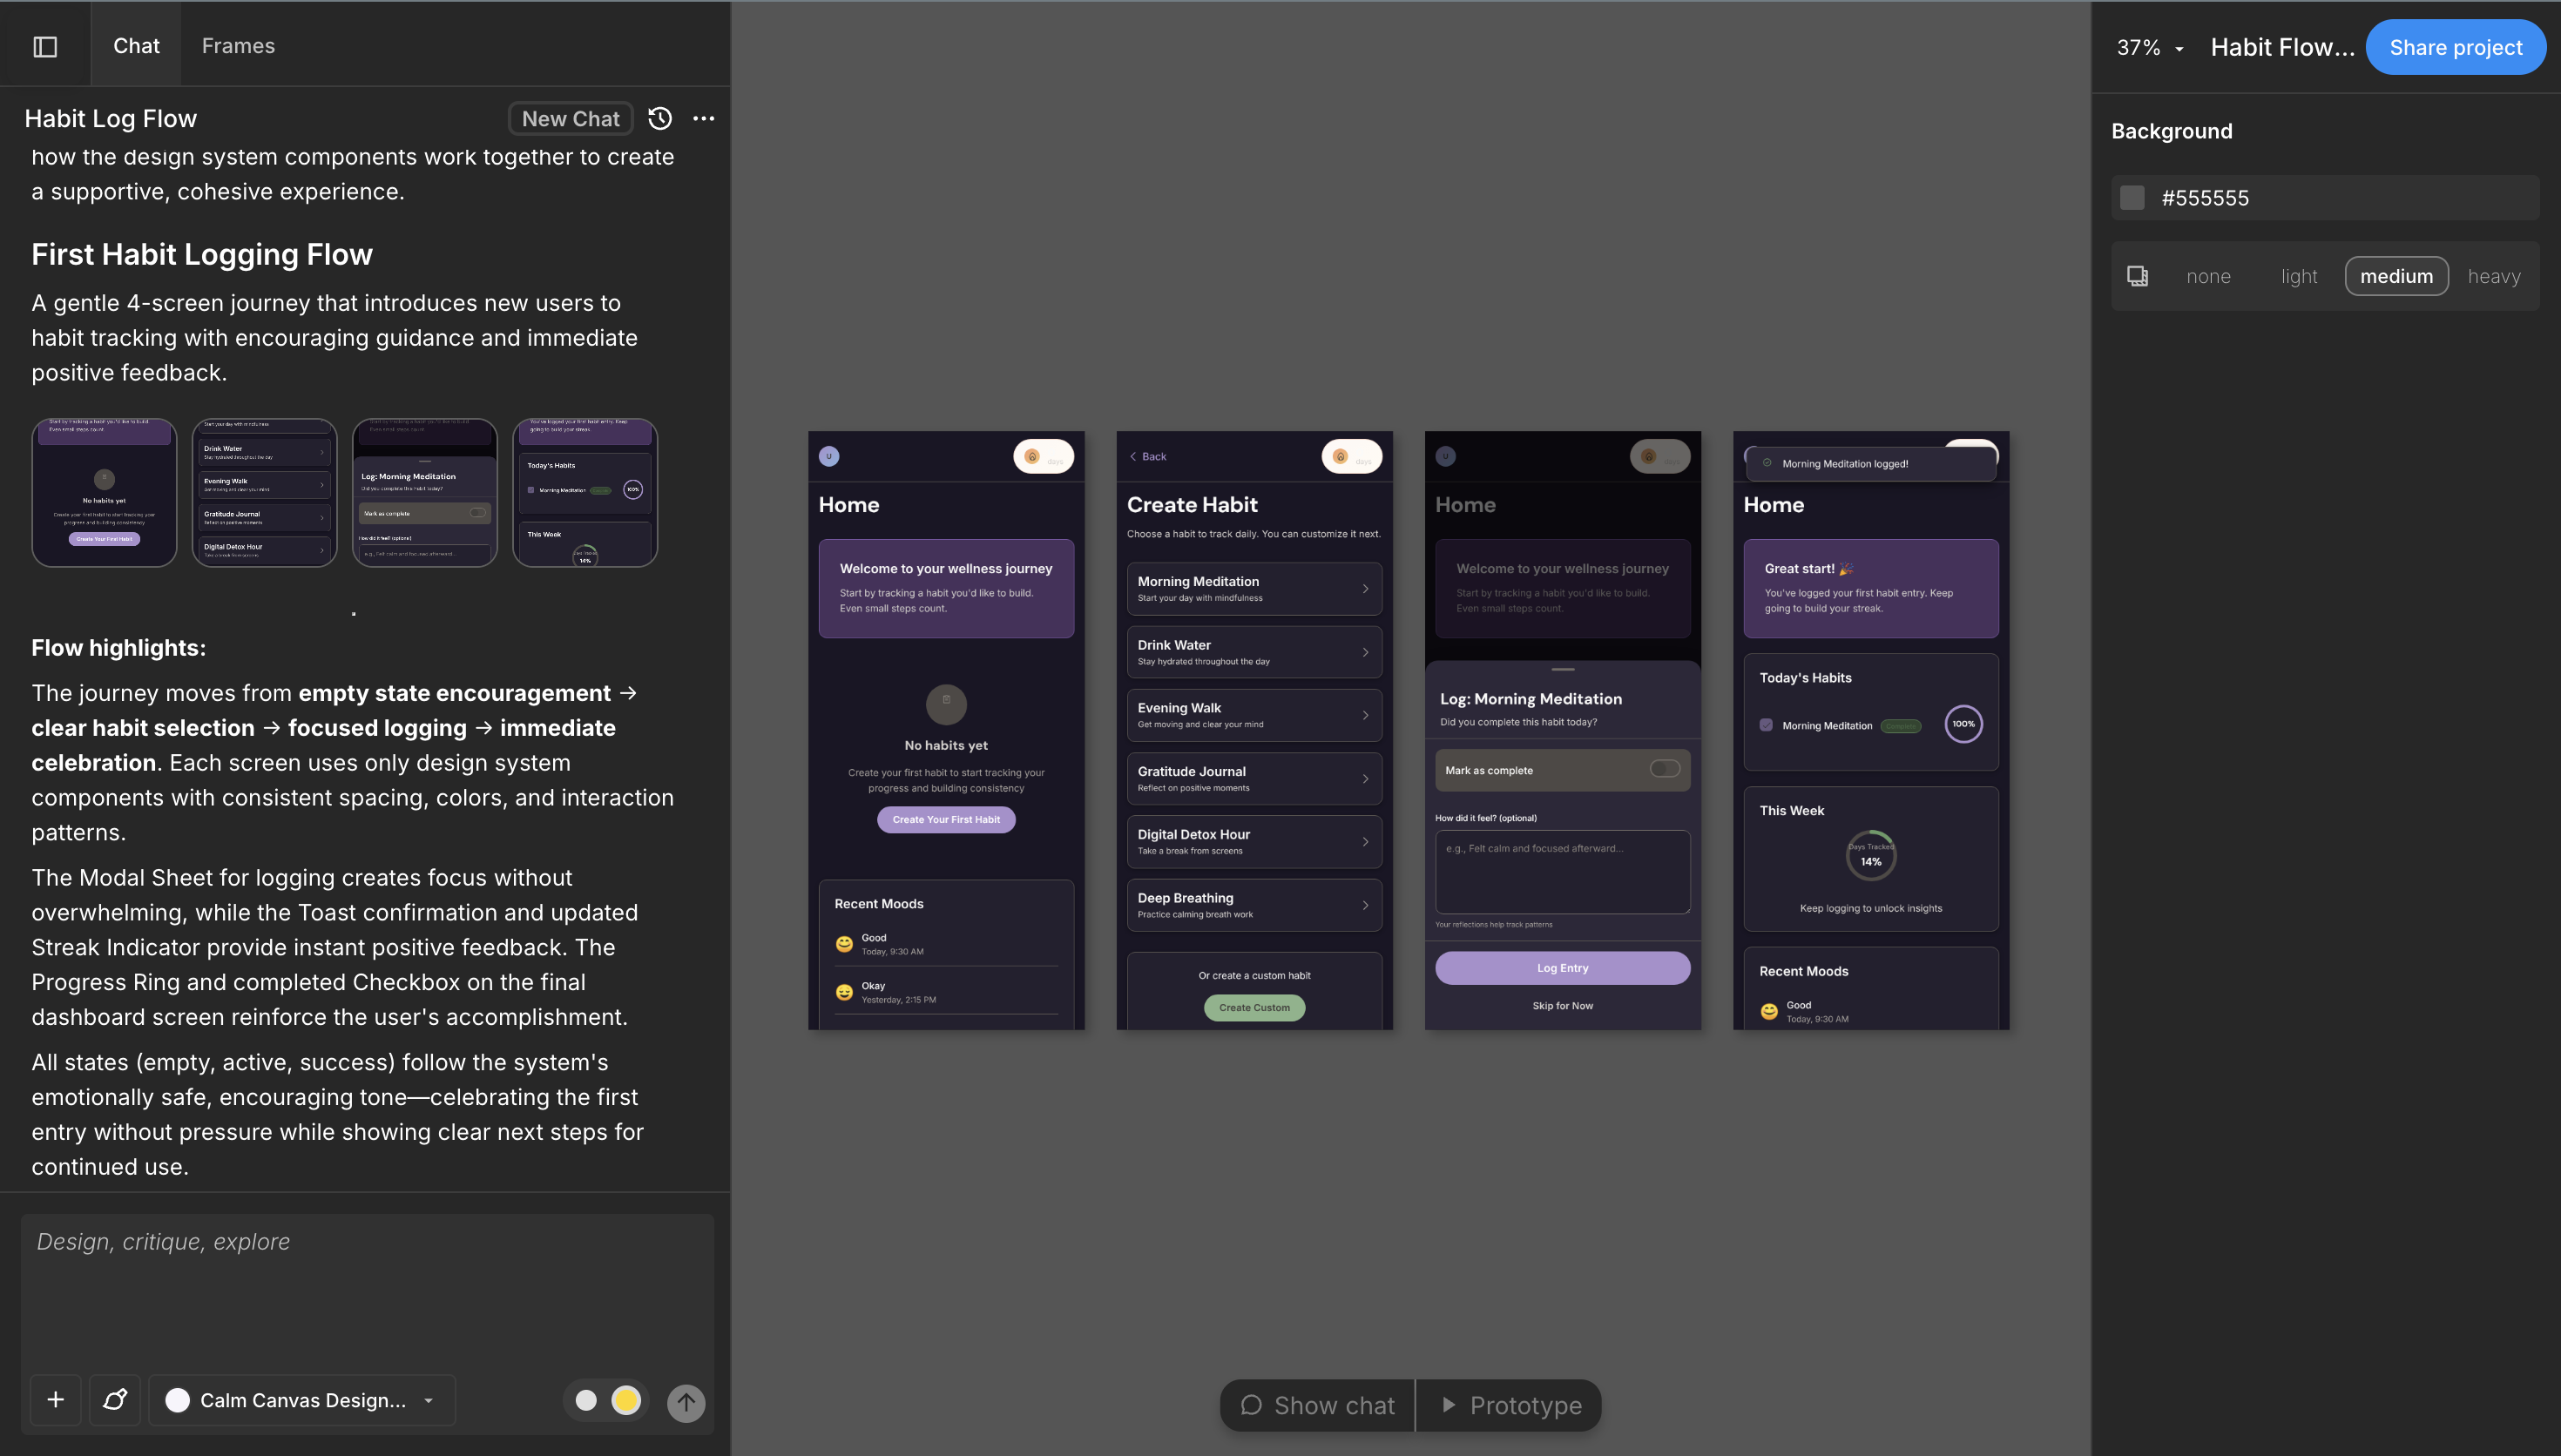
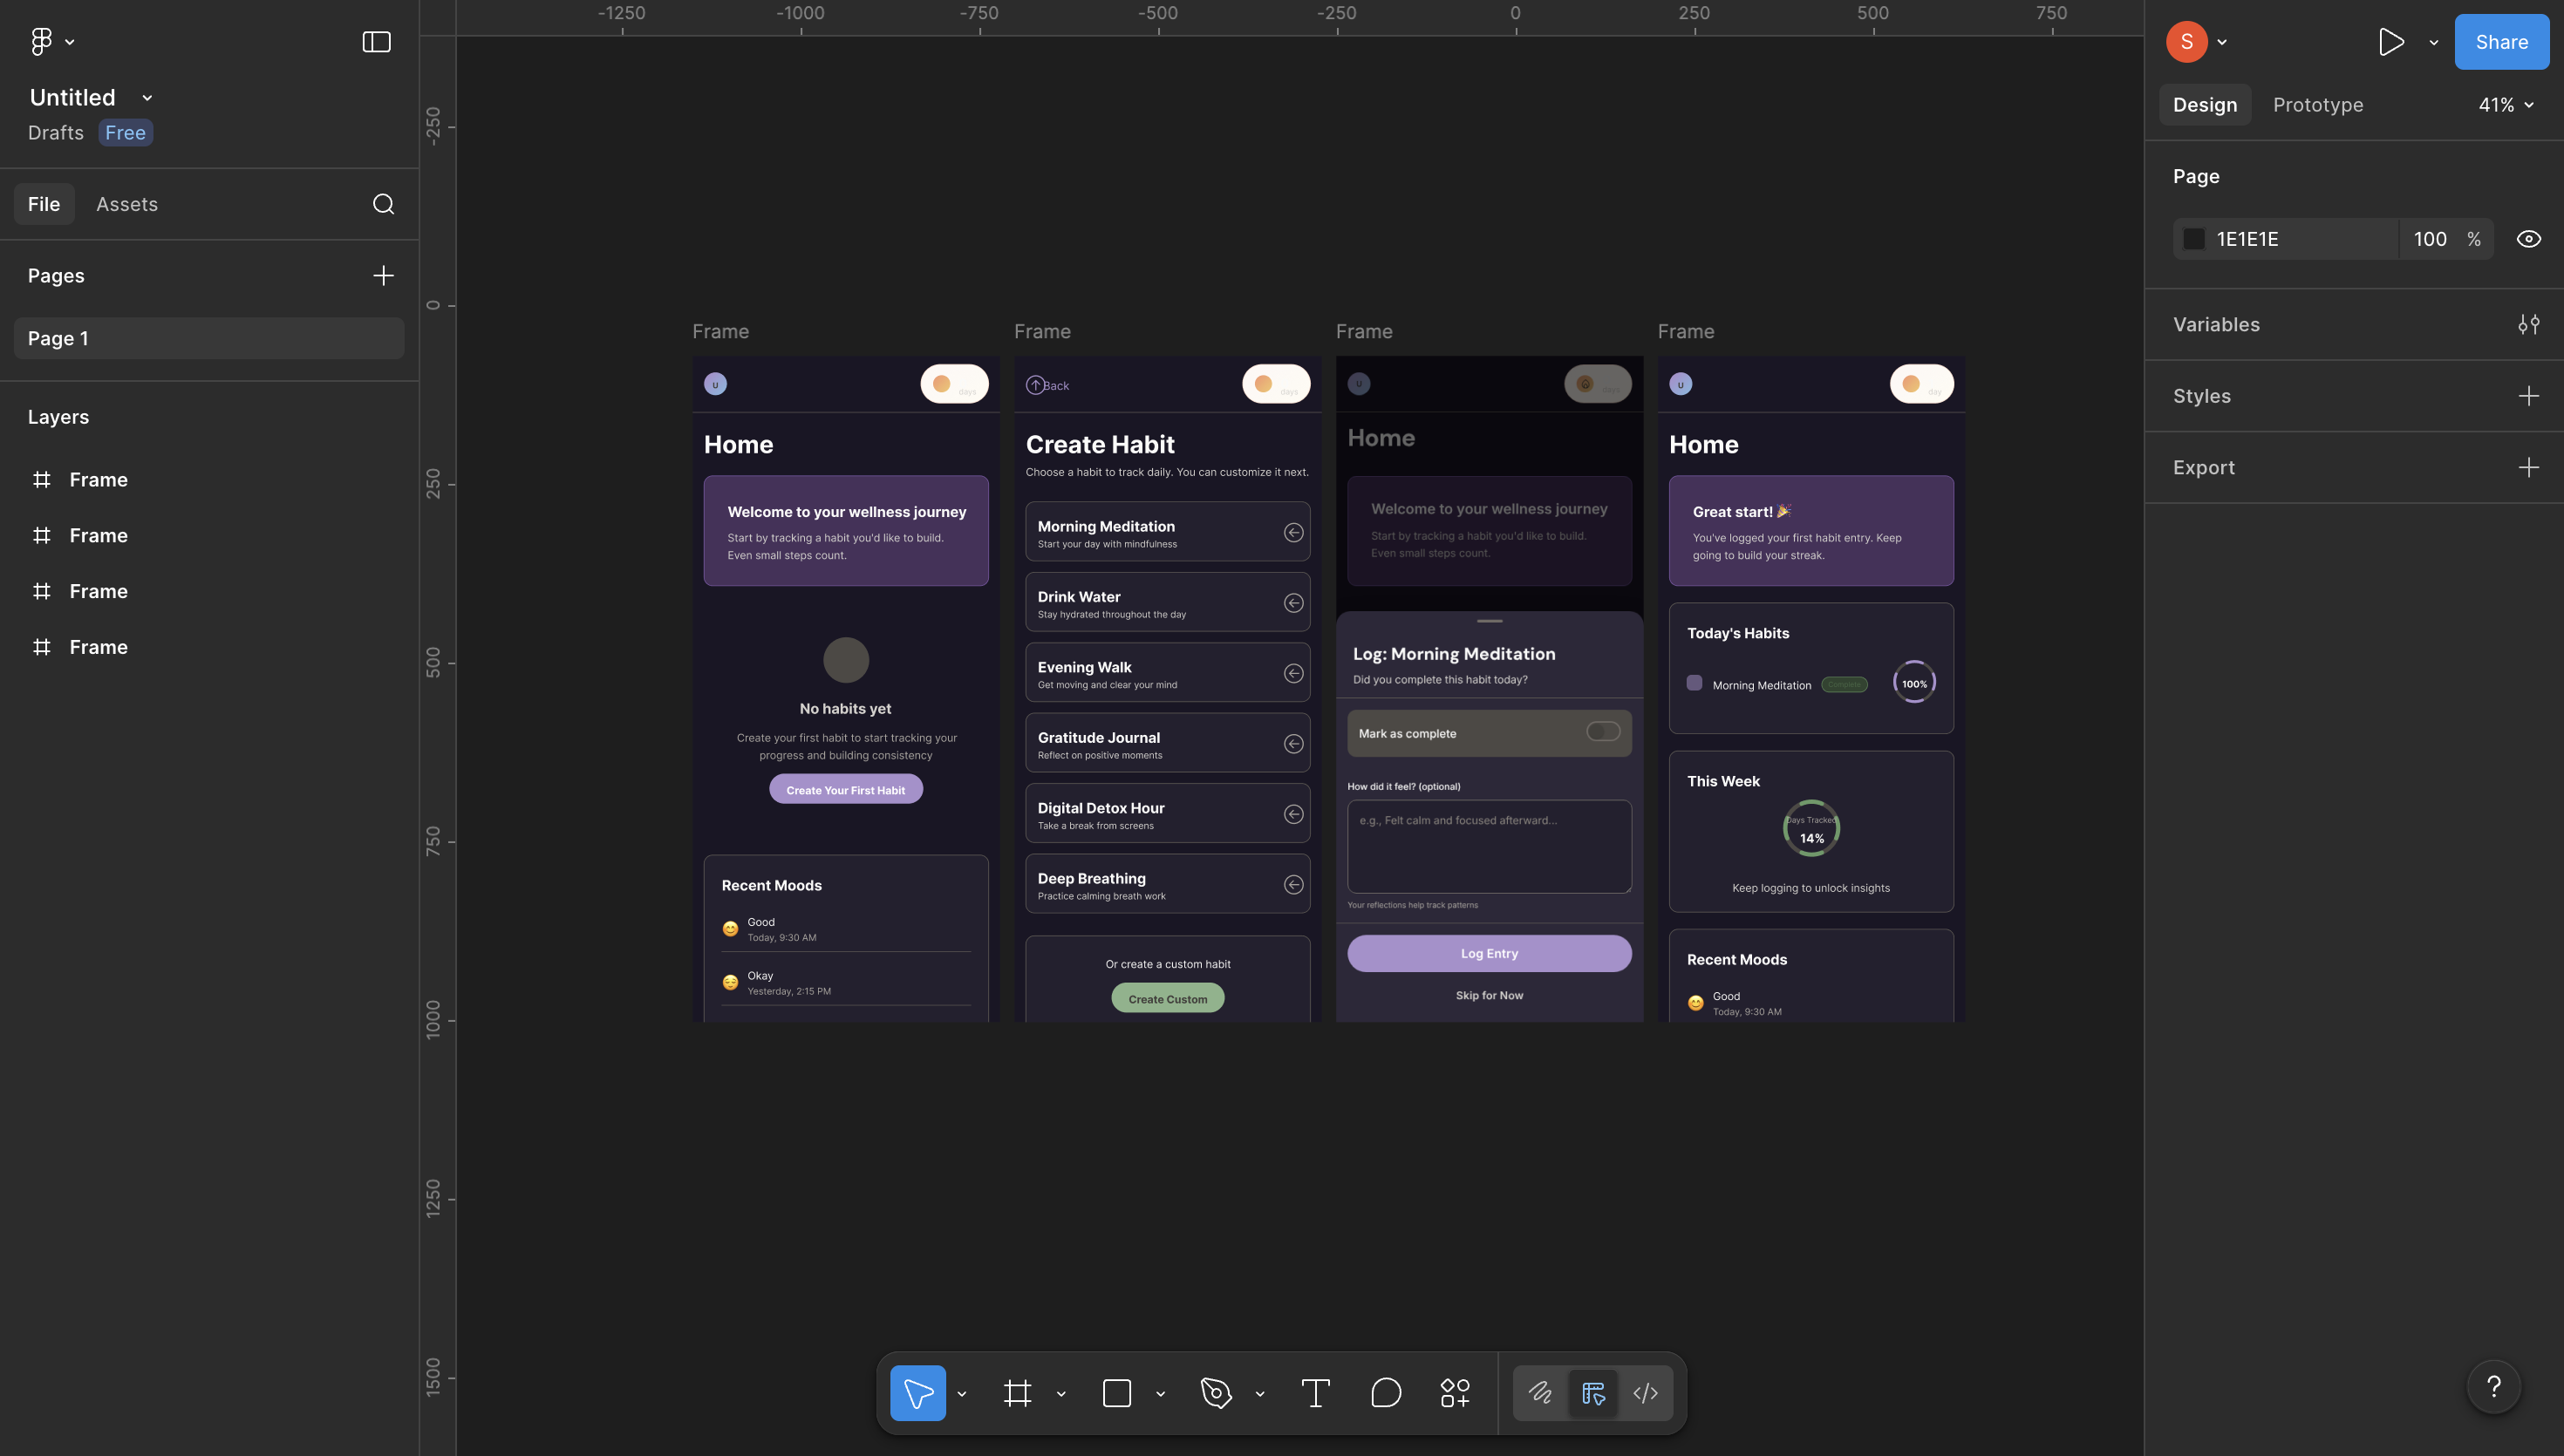
Step 1: Review in Moonchild.
Before exporting, spend a few seconds reviewing the generated screens in Moonchild's preview. Check the alignment, component choices, content accuracy. Make any text edits directly in Moonchild (adjust copy, swap a component).
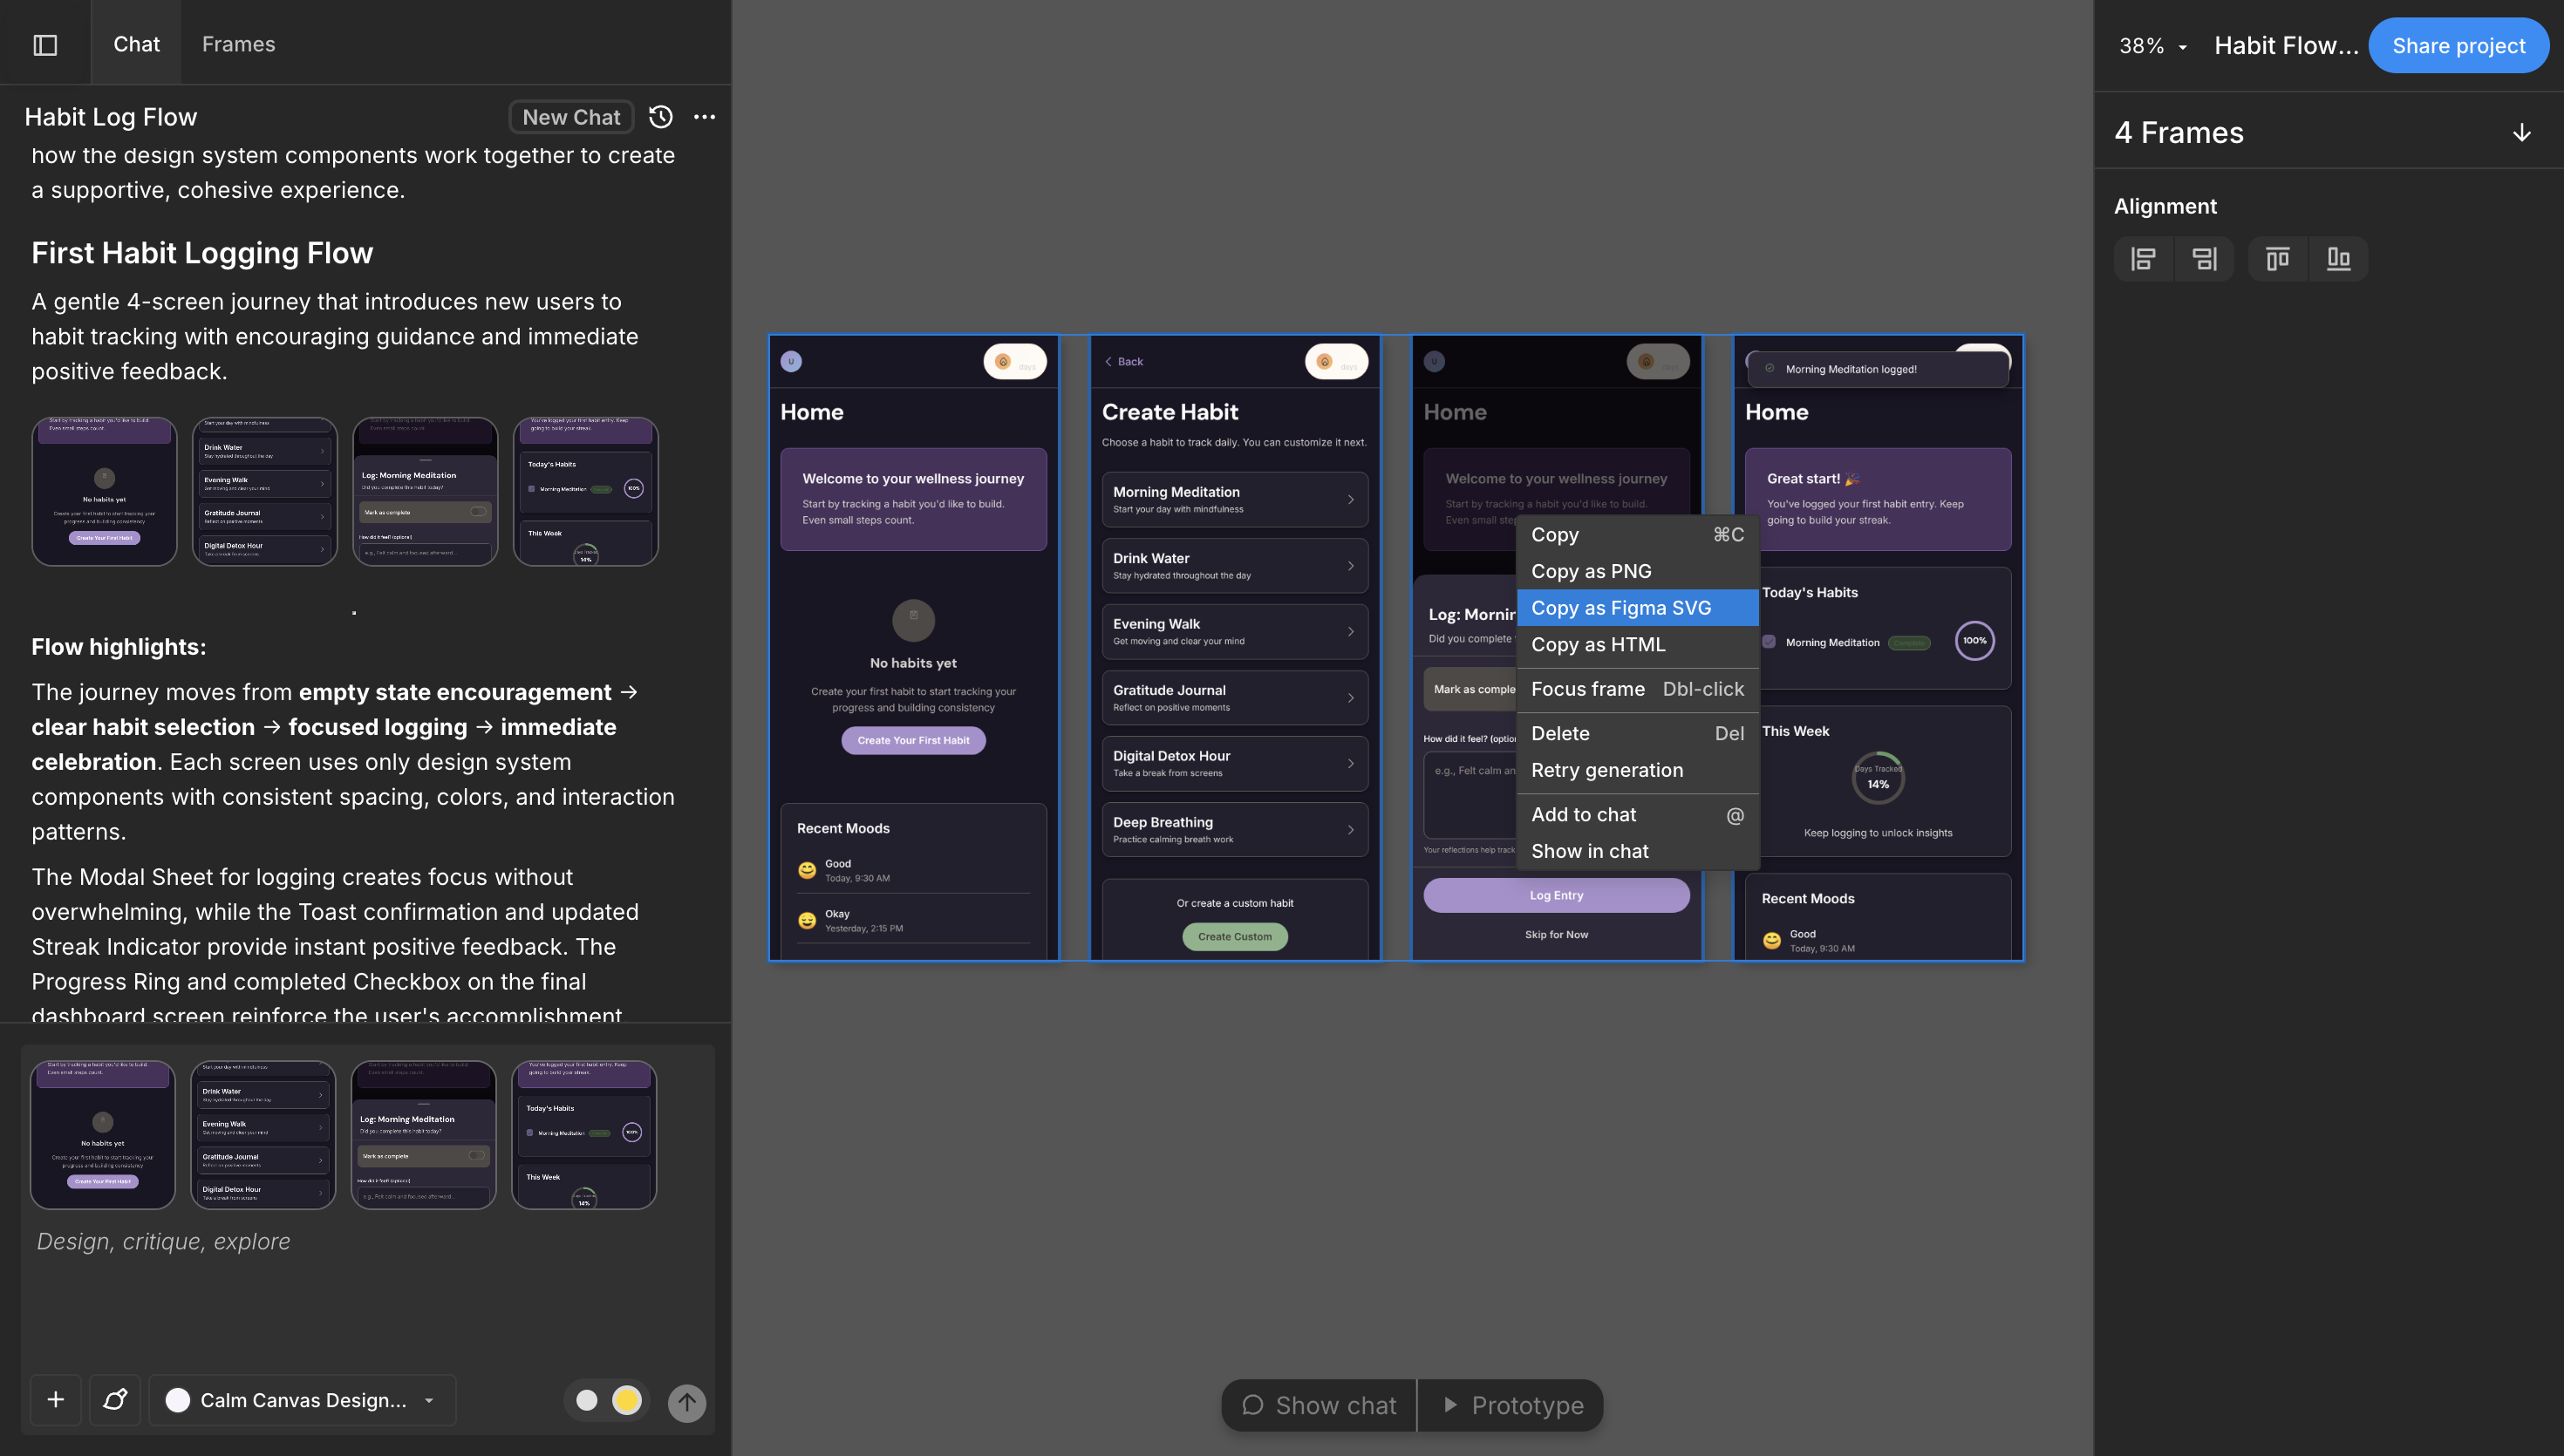
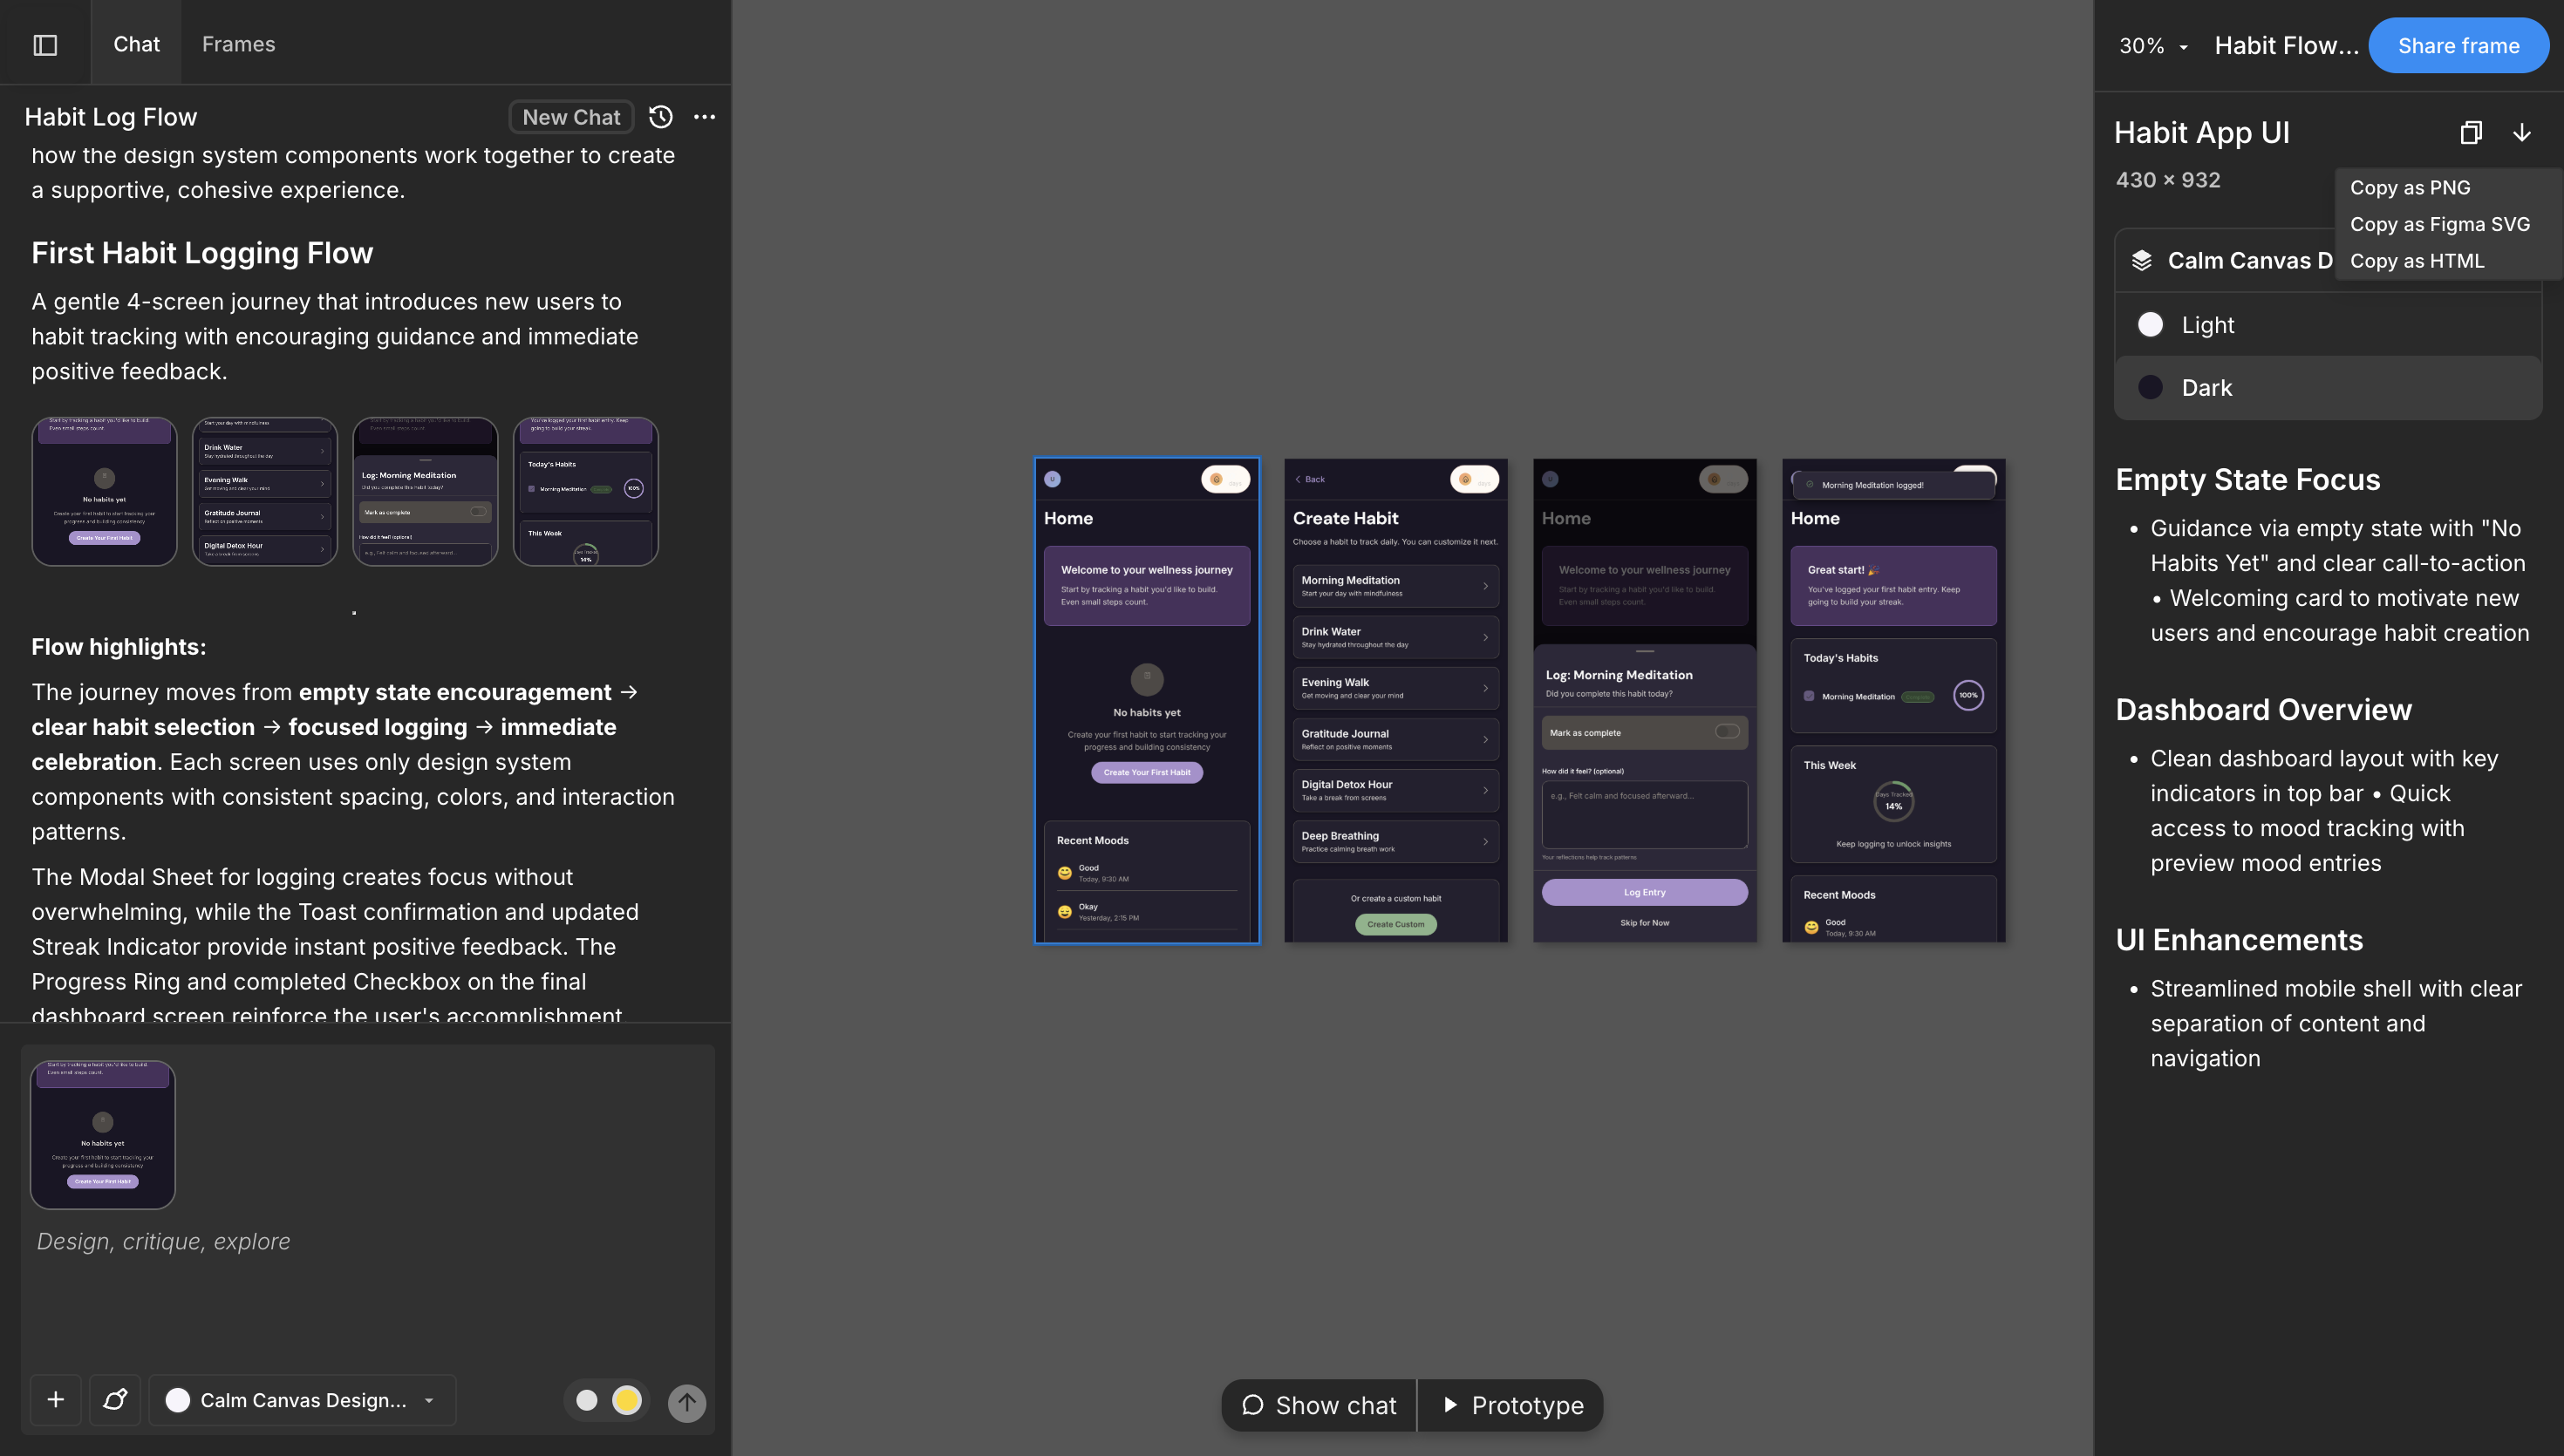
Step 2: Download or copy your generated frames.
You can download your generated frames, or copy them as PNGs, HTML, or SVGs to a Figma file. You can do these in two ways.
First, select the generated screens and right-click. You can select from the list of options, but since I need the frames in Figma, I'll click on "Copy as Figma SVG."
Once you do that, you'll get a notification once your screen has been copied to your clipboard.
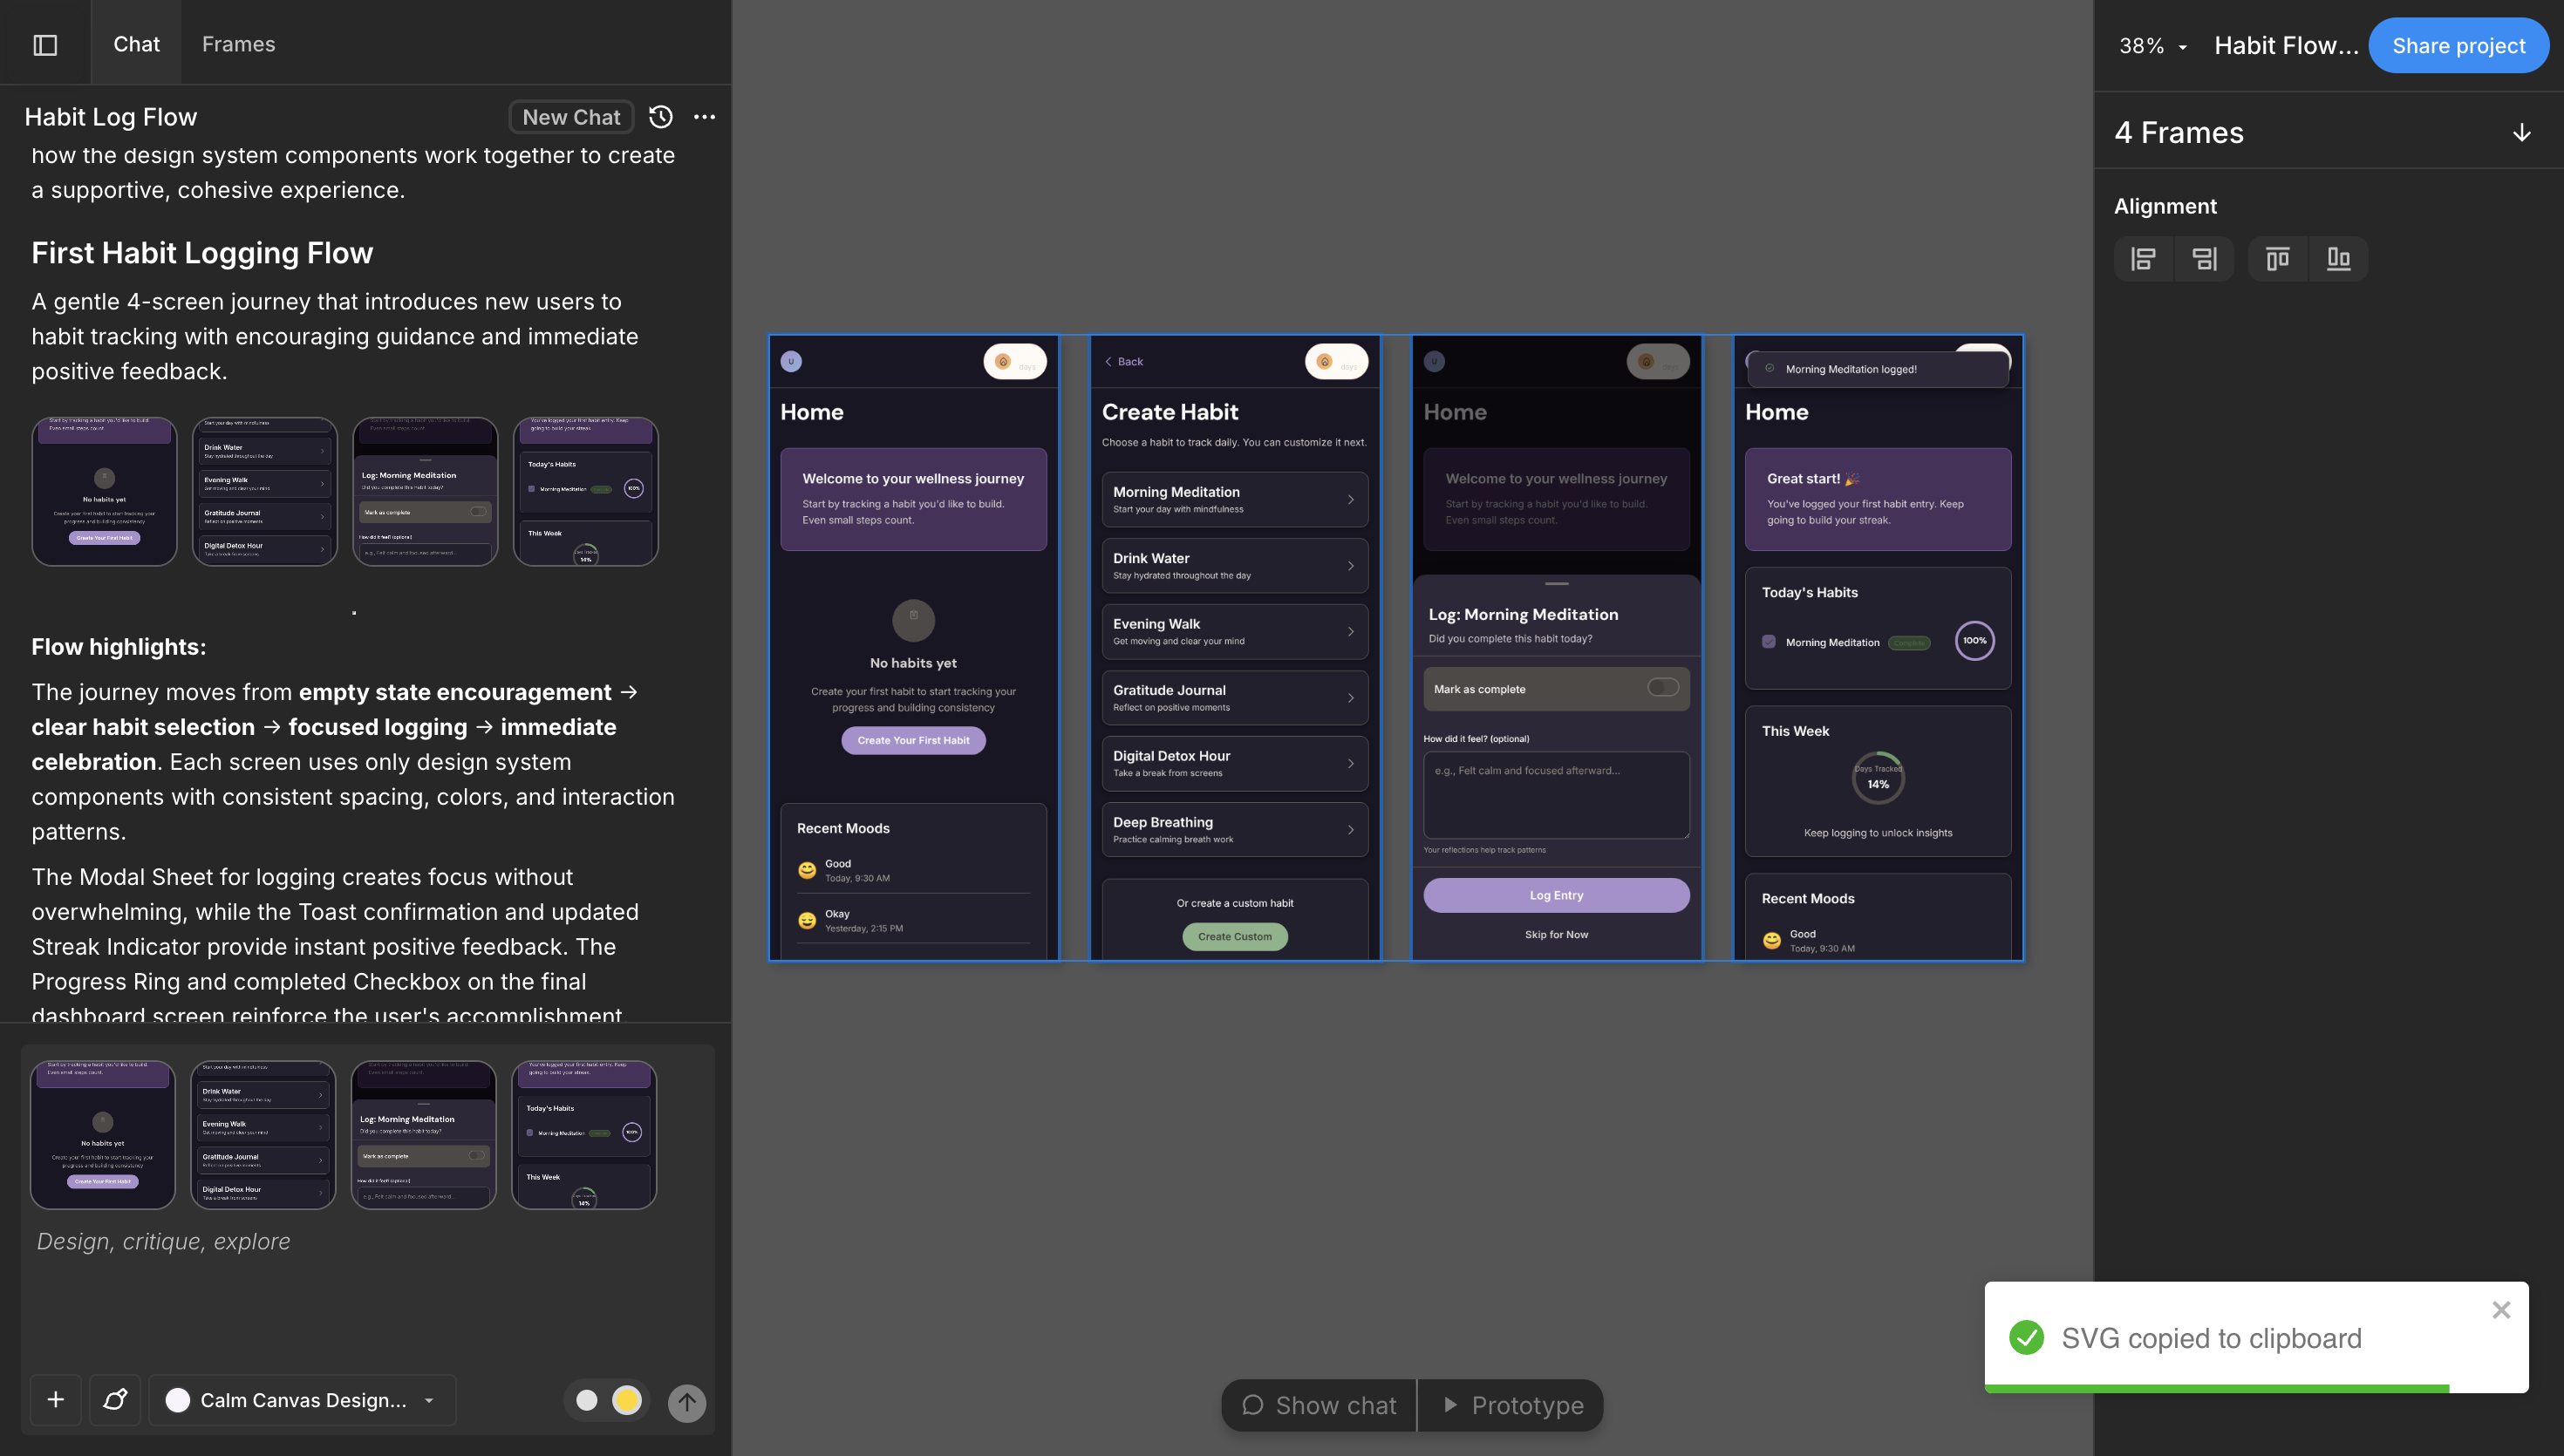
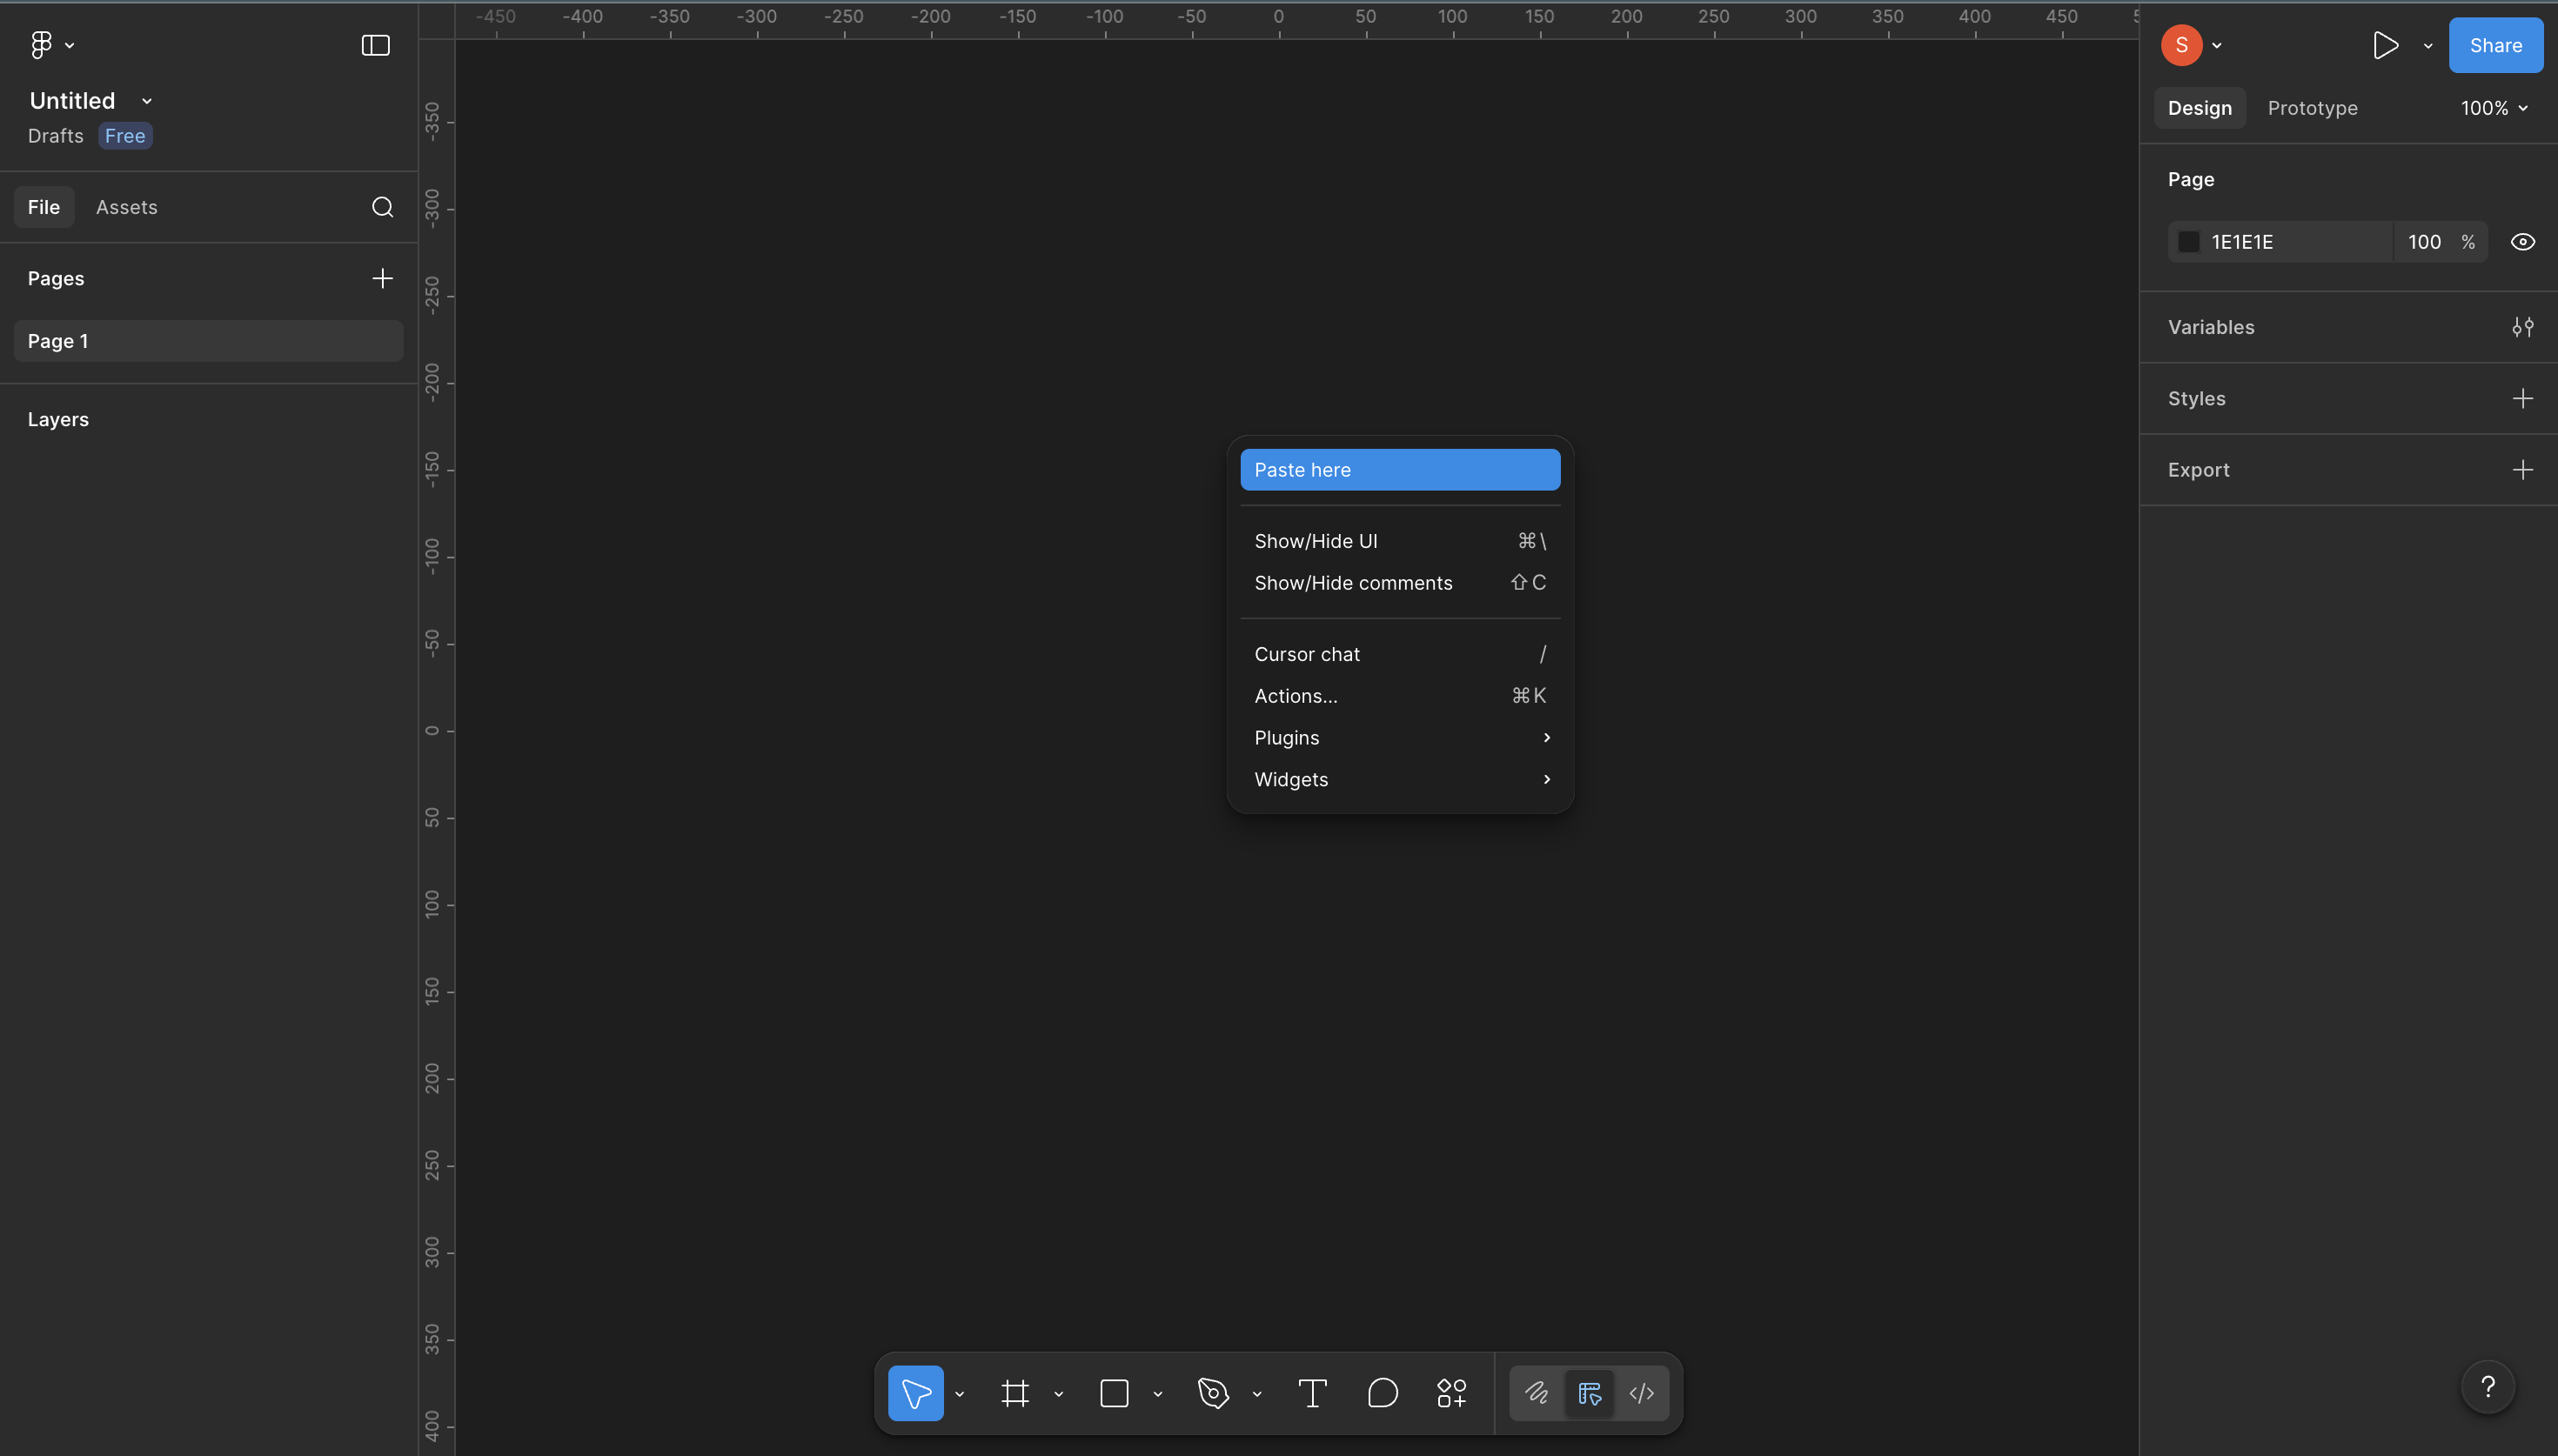
You can now open your Figma file and paste the copied screens there.
This takes 10–30 seconds.
Instead of right-clicking on a frame, you can just select the frame, and use the download/copy icons on the right tab.
![]()
You'll see the same options you get when you right-click.
Any of these alternatives work if you want to export your generated screens.
Step 3: Refine and Edit the frames.
Once you've pasted the screens in Figma, you'll be able to expand the frames' layers. Here, you can now refine the frames to your satisfaction.
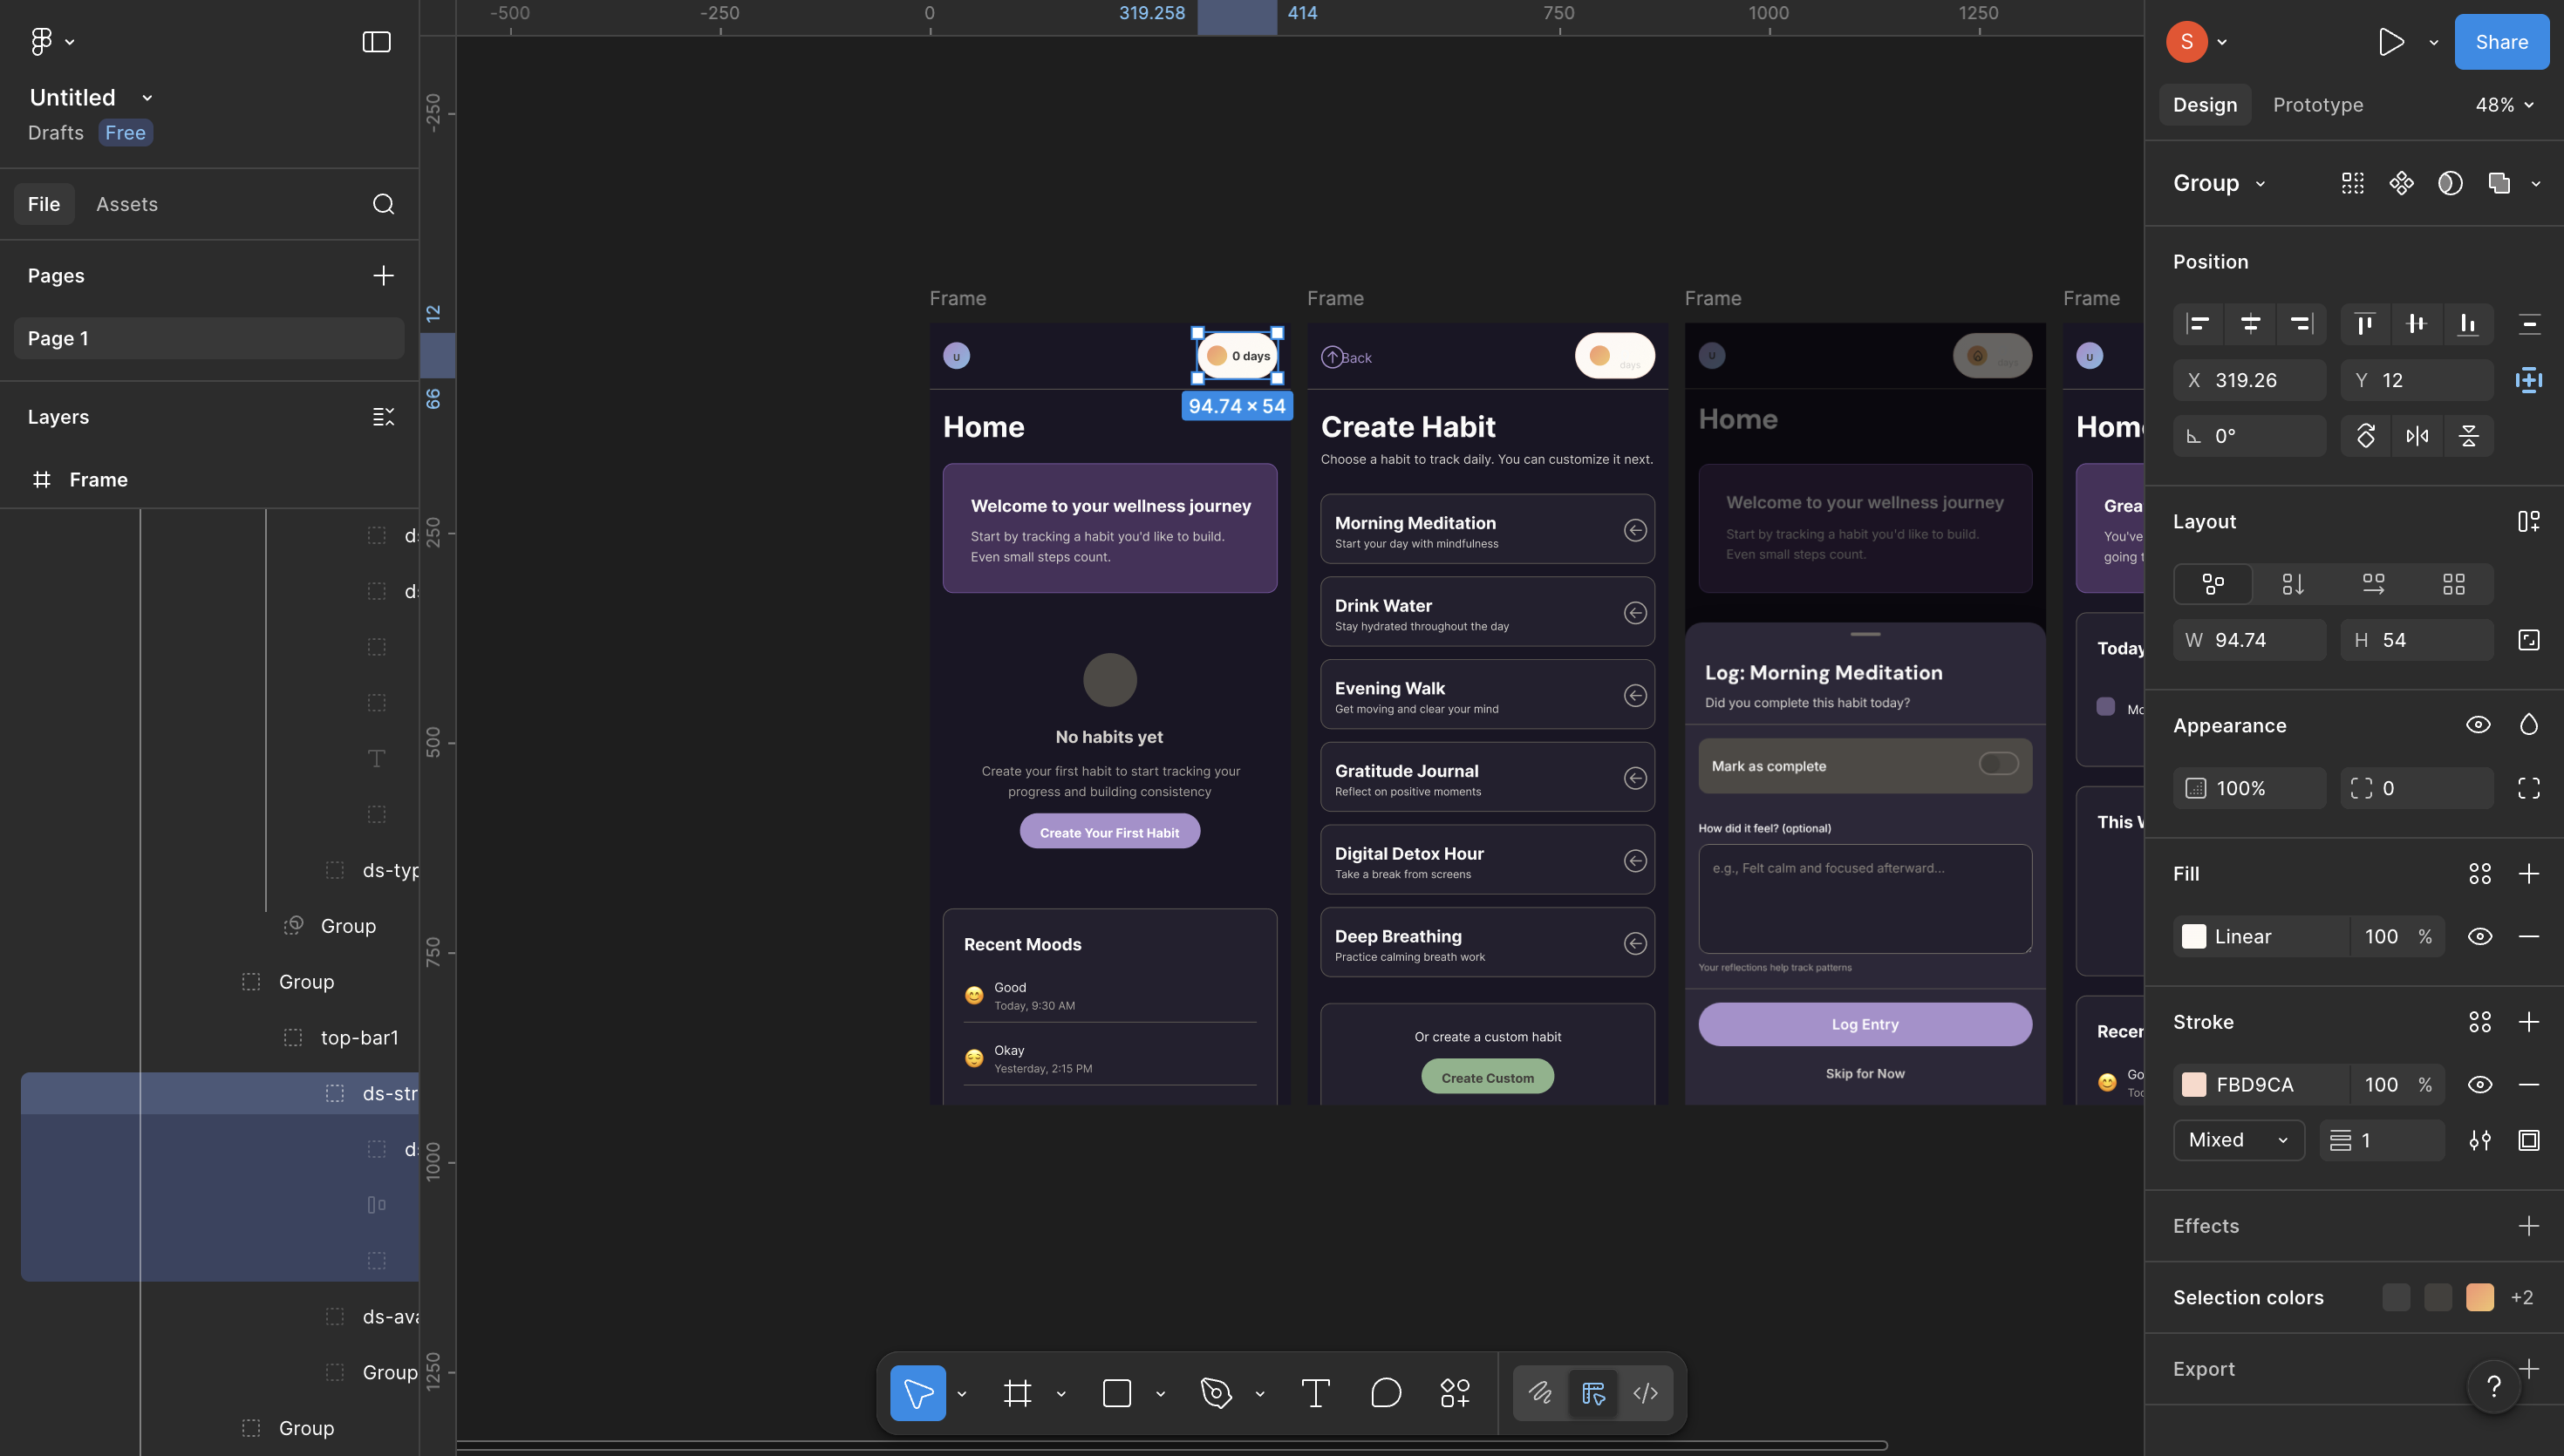
What you'll see in the exported Figma file
Component instances, not shapes.
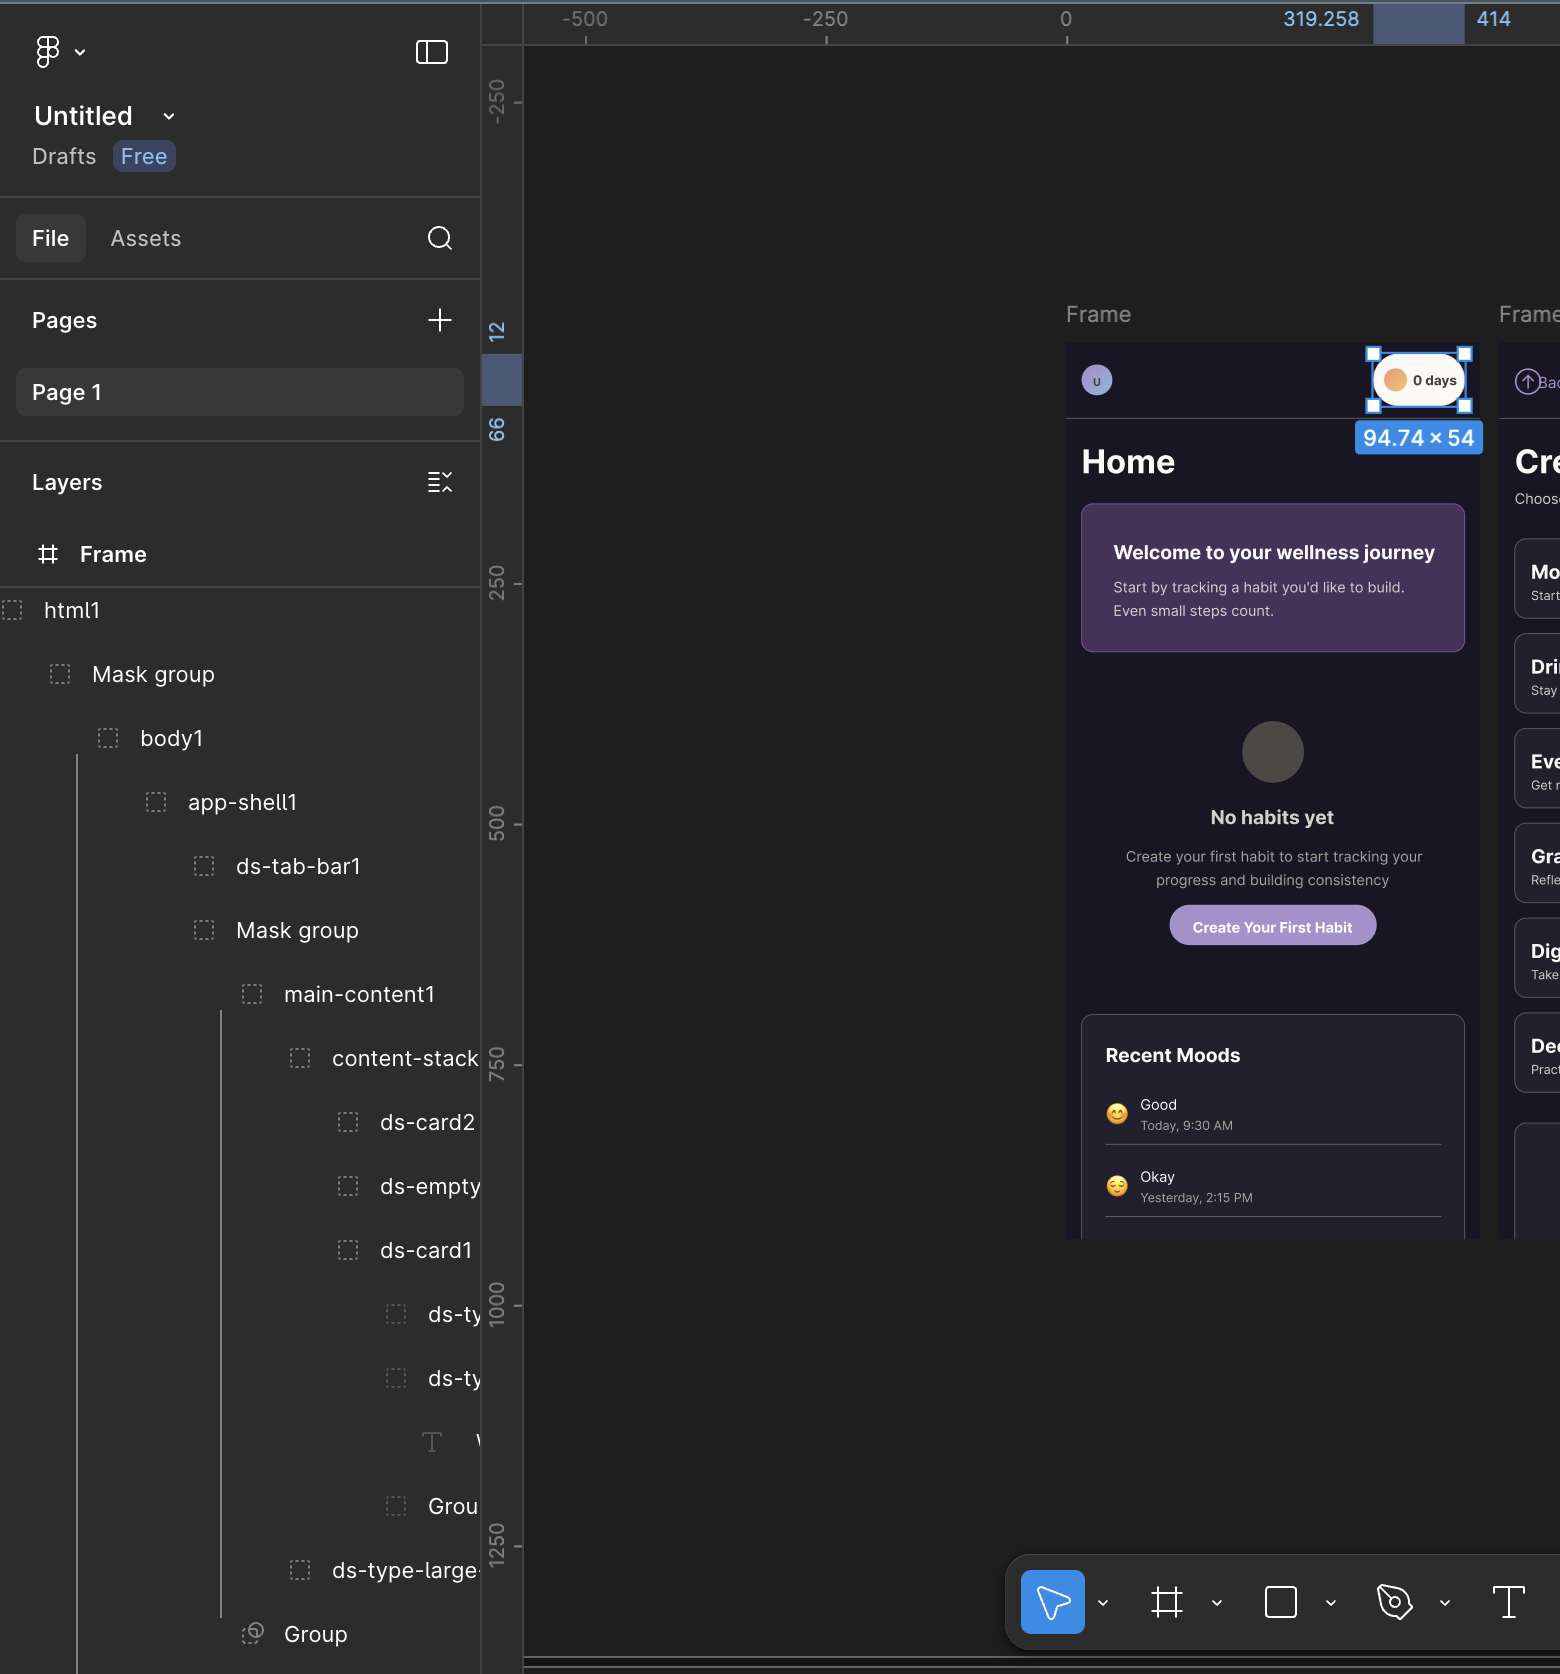
Select an element. In the right panel, you see things like "ds-tab-bar1", etc.
Semantic naming.
Every text layer is clearly named, and every group has a meaningful label. When a developer (or another designer) opens the file, the structure is easy to understand.
Auto-layout applied throughout.
Auto-layout is applied consistently across the file, which means text wraps correctly and components scale the way they're meant to. The layout feels flexible rather than fragile.
When a container is resized, the content adjusts naturally instead of breaking apart, making the design far easier to refine and hand off to a dev.
Export variations: multiple directions, multiple files
You can also export each generated direction to its own Figma file. If you explore three different layout approaches in Moonchild, you can export all three separately as SVGs and review them side-by-side in Figma.
Your team can compare them side-by-side in Figma, copy frames between files, and manually merge elements if needed.
Note: If you can't copy all the generated screens at once, you can just do that one-by-one. This is a one-time manual step and takes 2–3 minutes for a multi-screen flow. Figma's copy/paste handles this cleanly.
Why this workflow compresses design time
Without Moonchild export structure: Designer spends 20% of Figma time building structure, 80% refining.
With Moonchild export: Designer spends 5% importing/reviewing, 95% refining.
And refinement is where craft happens.
The more time spent refining instead of rebuilding, the higher the quality of the final result. And when the structure is already in place, better designs move toward shipping faster.
Try Moonchild
Want this for your team?
Bring your design system into Moonchild and let PMs, designers, and engineers ship on-brand UI together — without breaking consistency.
Written by
Steven SchkolneFounder of Moonchild AI. Building the AI-native platform for product design.
Related Articles
Bringing Screens From Figma Into Moonchild
Moonchild isn't just for generating screens from prompts. You can import existing Figma designs and use them as a starting point for AI-powered exploration and variations.
How to Use AI to Rapidly Test Multiple UI Hypotheses
Every interface decision is a hypothesis. Instead of committing to one direction, use AI to generate multiple UI variants, test them fast, and validate the best approach before engineering begins.
How to Turn Product Prompts into Testable UI Flows
User testing requires screens that feel real enough for users to interact with naturally. Here's how to turn a product prompt into a testable UI flow in minutes with Moonchild AI.