How to Turn a PRD into a Clickable Prototype Using AI in 2 Mins
Updated January 6, 2026
Most design leads spend days, sometimes weeks, converting a PRD into screens. You write requirements, hand them to a designer, wait for iterations, then realize a critical screen is missing. Moonchild AI collapses this timeline: paste your PRD, and watch it generate a full, multi-screen prototype with real interactions in minutes.
This workflow solves a specific problem: the gap between written requirements and working UI. A B2C Consumer app team recently used this approach to go from signed-off PRD to testable prototype in a single afternoon — something that previously took two weeks and three rounds of designer feedback.
Step 1: Prepare and structure your requirements
Your product requirements can live in many places — a PDF, a Jira ticket, a Slack thread, a Notion document, or an internal spec. Before bringing them into Moonchild, review the material and identify the core user journey and the key screens involved.
Moonchild can interpret requirements regardless of how they are structured, but it helps to ensure the main flow of the experience is clearly described and that important states are included.
The goal of this step is simply to review and clarify the product flow so the requirements accurately reflect the intended user experience before generating screens.
Step 2: Load your PRD and import your design system
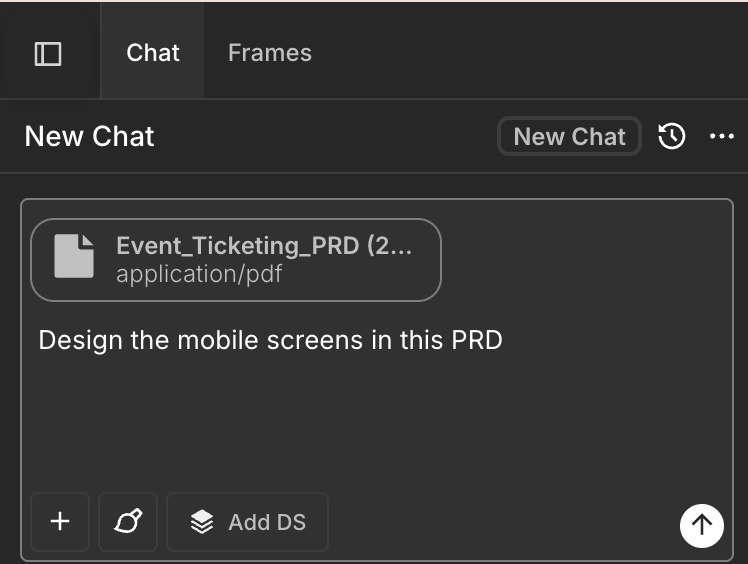
Open a Moonchild project and paste your PRD text into Moonchild and hit generate. This takes a few seconds.
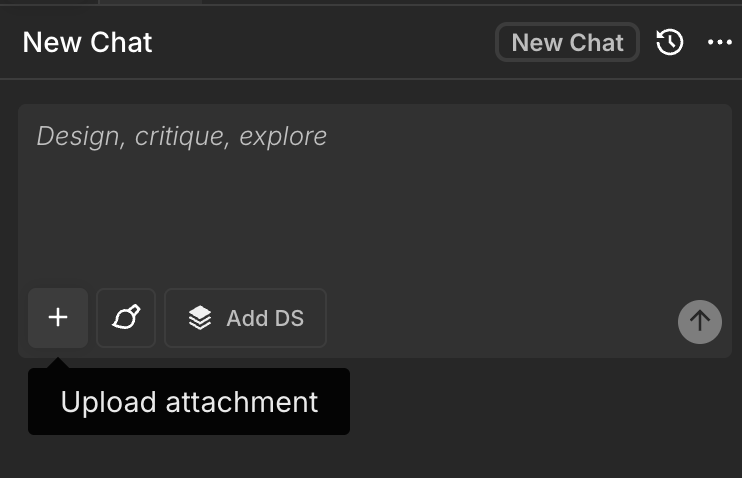
Here's the critical next step: add a Design System using the Add DS button so that the screens generated will use your actual components, tokens and design language. Without a design system, Moonchild generates clean, modern UI suitable for internal review. With your design system, the output is visually indistinguishable from your shipped product.
Once you upload it, just ask it to design the screens in the PRD.
Step 3: Review the complete flow
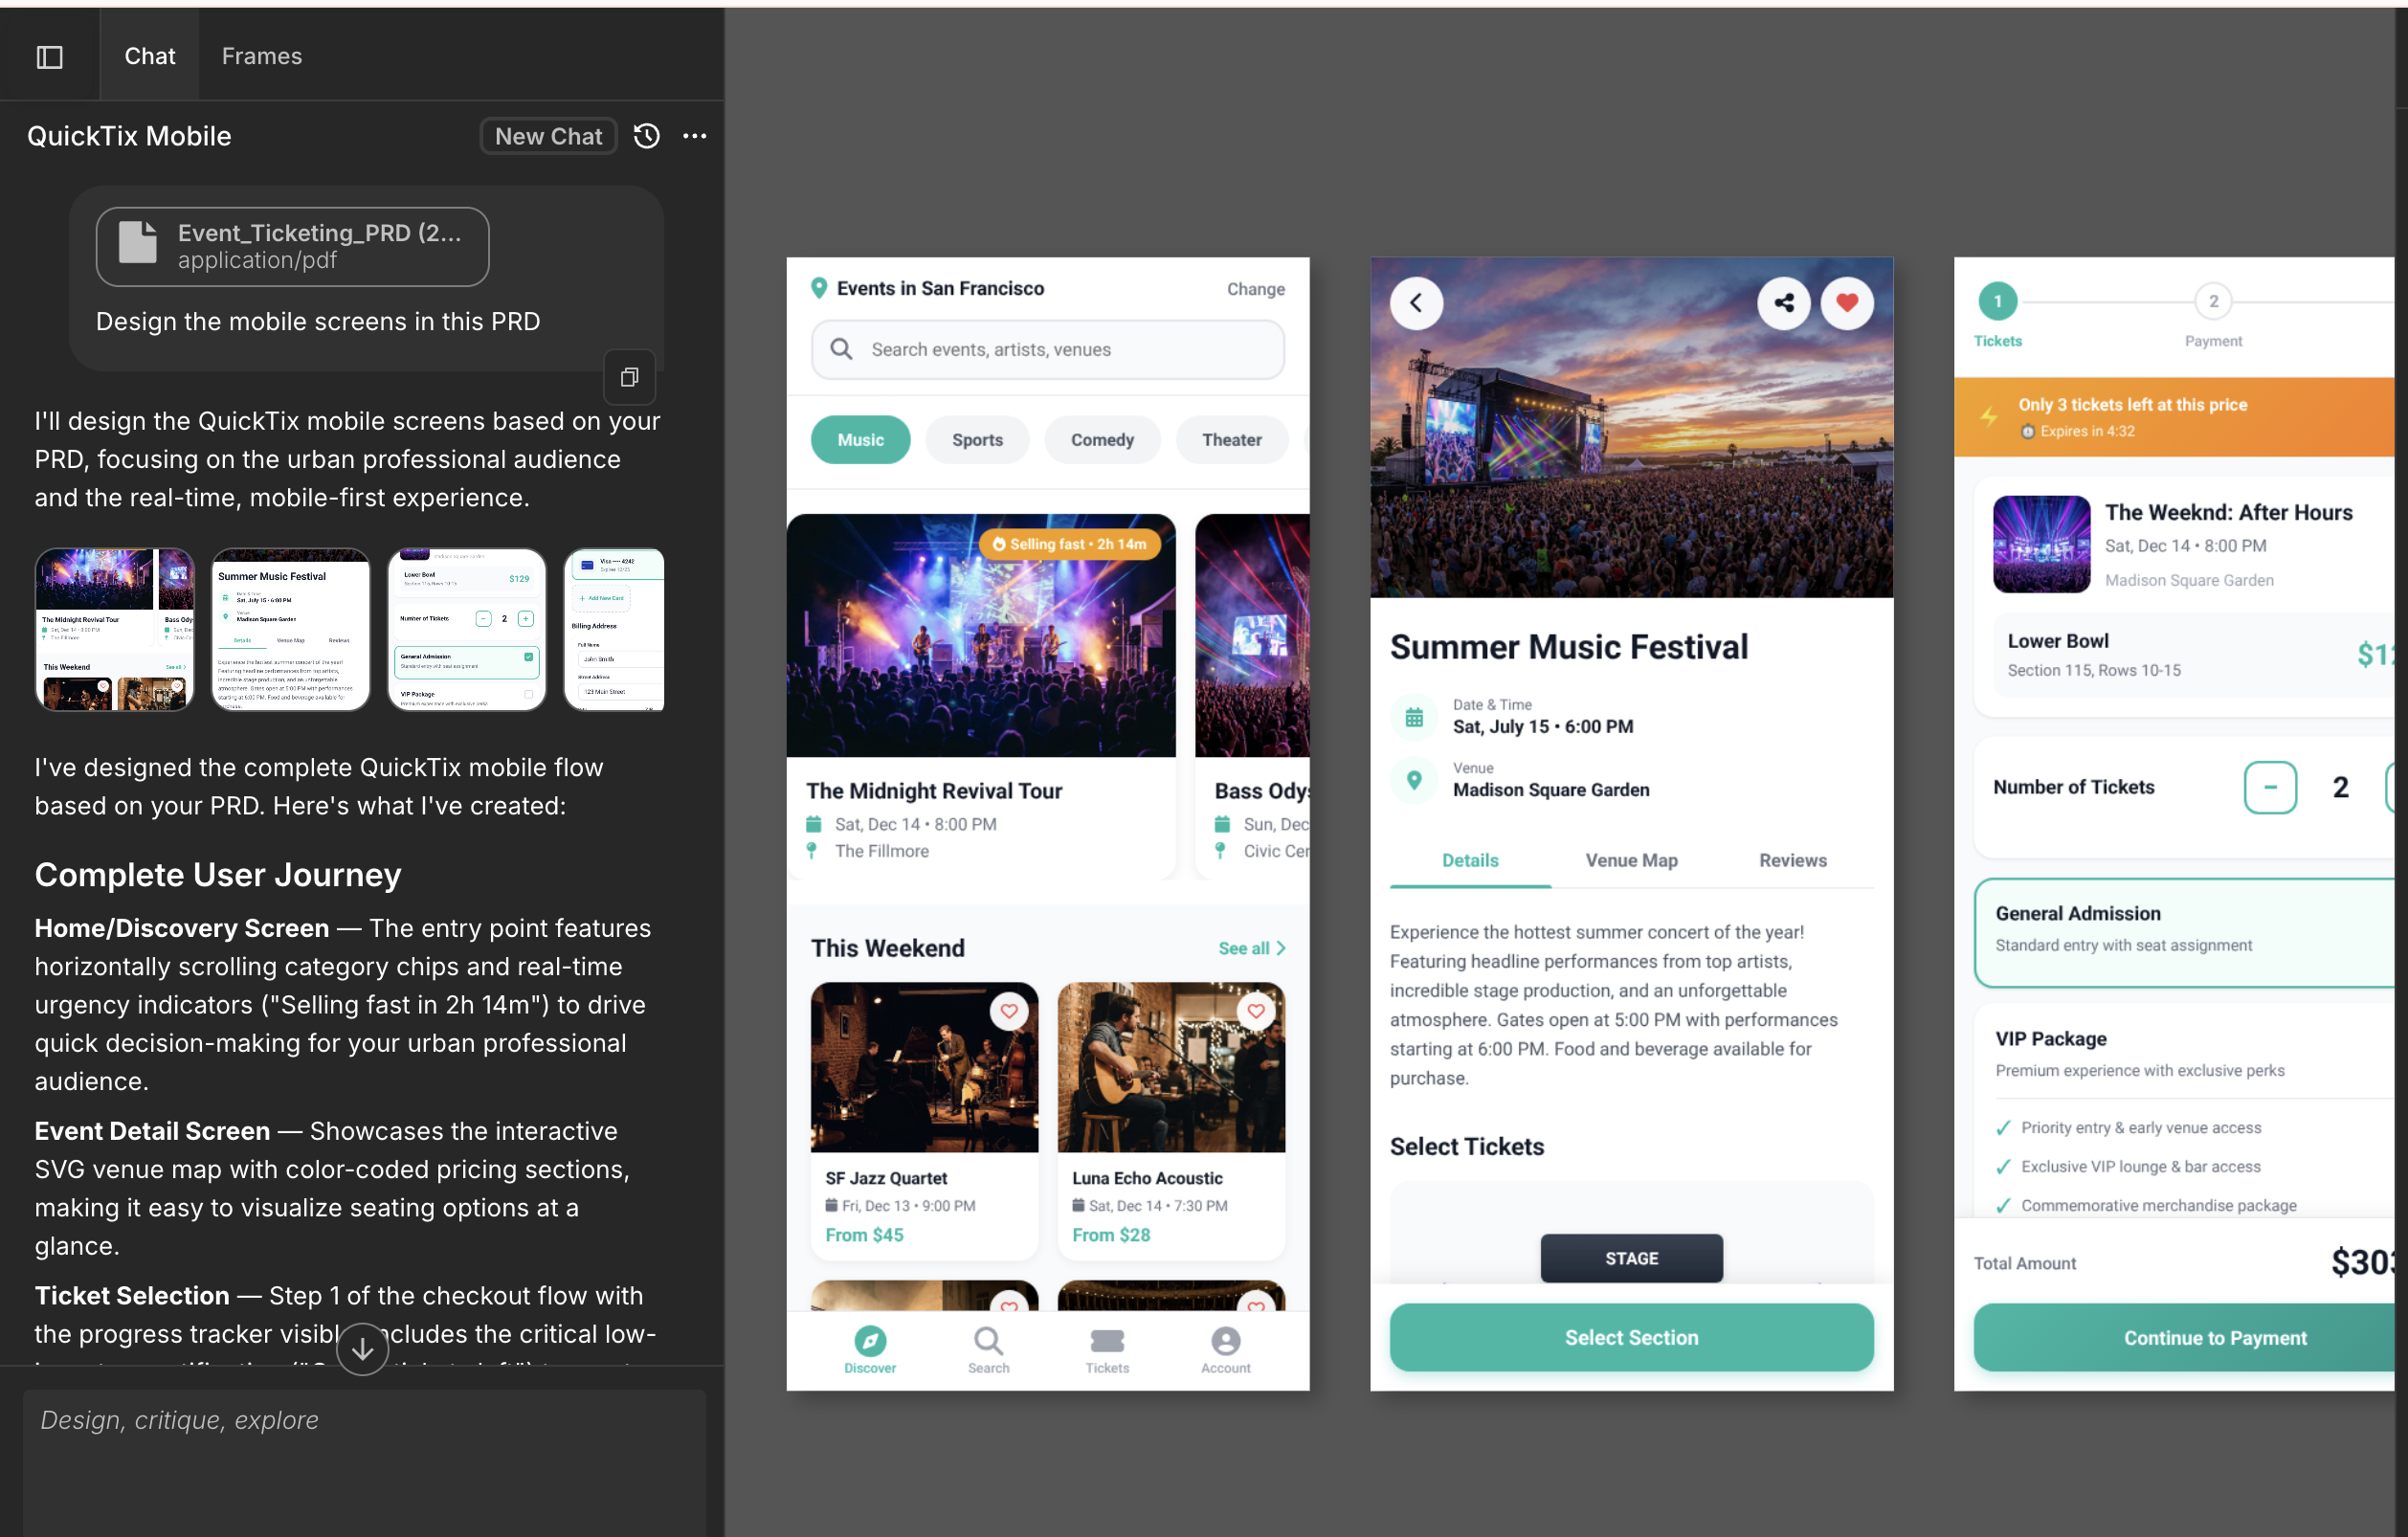
Once you hit submit, Moonchild reads the PRD, and the accompanying prompt and then generates UI screens, usually in a user flow format of your intended results. Moonchild produces all the screens your PRD describes, connected with real interactions. You'll see onboarding flows, feature screens, success states, and error handling — generated from your written requirements. Each screen respects your design system (if set up), so the output looks and feels like your actual product.
Double-click on any screen to pop it in view and reveal the play button, once you click it, you will see the screen in prototype mode. All screens in Moonchild are interactive single-page prototypes by default.
With this you can test the main interactions, does the flow match what you specified? Did Moonchild miss any screens or misinterpret a transition?
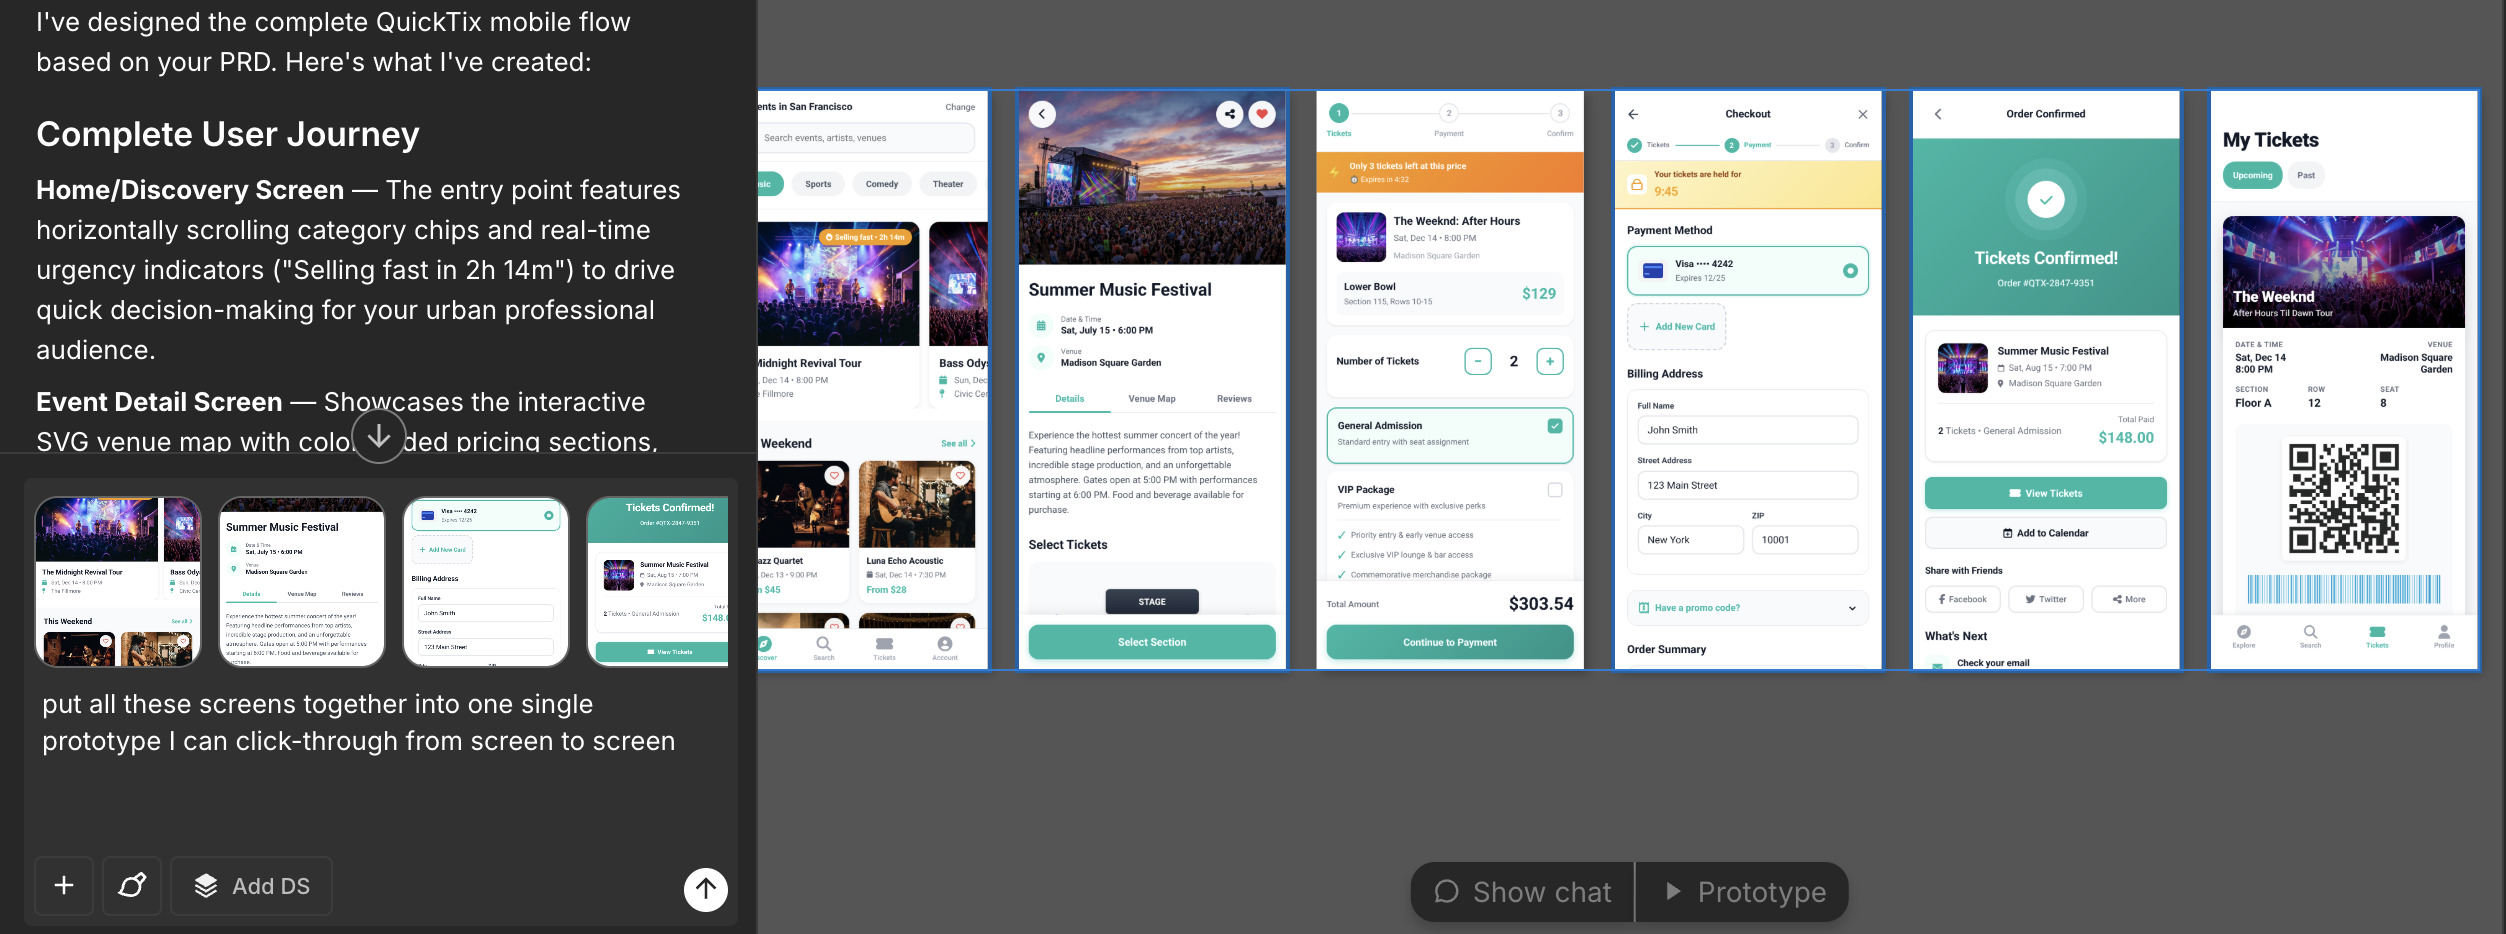
Step 4: Turn to Multi-Screen Prototype
If you want, you can also put all the screens into one single prototype view so you can click through them. Select all the screens in the user flow and in the chat ask it to "put all these screens together into one single prototype I can click-through from screen to screen"
Ways to get great UI designs
1. Write a clear and detailed PRD.
The quality of the generated UI depends heavily on how clearly the flow is described in the PRD. Instead of vague statements, outline how users move from one step to the next — what they click, what appears, and what happens after each action. Clear state transitions help the system translate the PRD into accurate screens.
2. Import your design system early.
Without a design system, the prototype will use generic UI. Bringing in your design system ensures generated screens follow your product's components, spacing, typography, and tokens, so the prototype reflects how the feature would actually look in your product.
When your PRD is clear and your design system is connected, the gap between requirements and working UI disappears. Instead of waiting days for the first draft of a feature, you can see the entire experience immediately, test the flow, and refine the product before design or engineering even begins. That's the real advantage of turning PRDs into prototypes in minutes.
Written by
Steven SchkolneFounder of Moonchild AI. Building the AI-native platform for product design.
Related Articles
PRD-to-Prototype Workflow with AI: The Complete Guide
The complete guide to going from PRD to interactive prototype using AI. Five stages that compress weeks of design work into days while reducing risk.
How to Prototype SaaS Features from a PRD
SaaS products rely on specific UI patterns that generic tools miss. Here's how to turn SaaS PRDs into realistic prototypes using Moonchild AI and your design system.
How to Use AI to Rapidly Test Multiple UI Hypotheses
Every interface decision is a hypothesis. Instead of committing to one direction, use AI to generate multiple UI variants, test them fast, and validate the best approach before engineering begins.